Did something to my HG Shaldoll :D (This is btw, our Brando Bell Group Build)
First of, this is what I plan on doing on it's backpack.

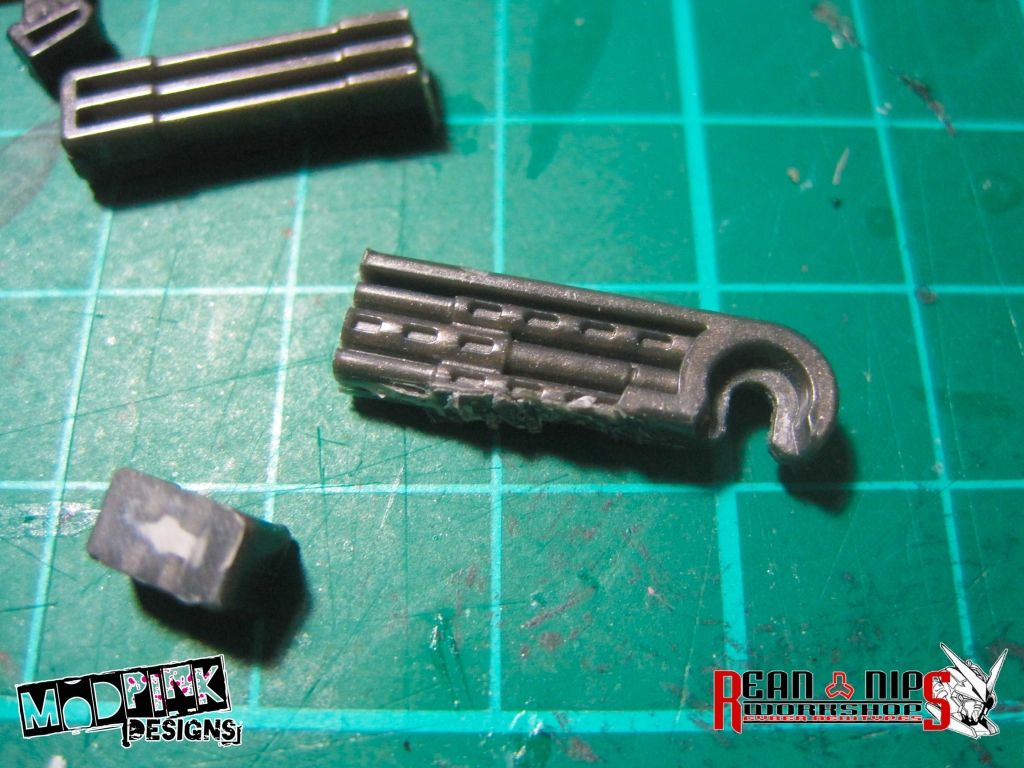
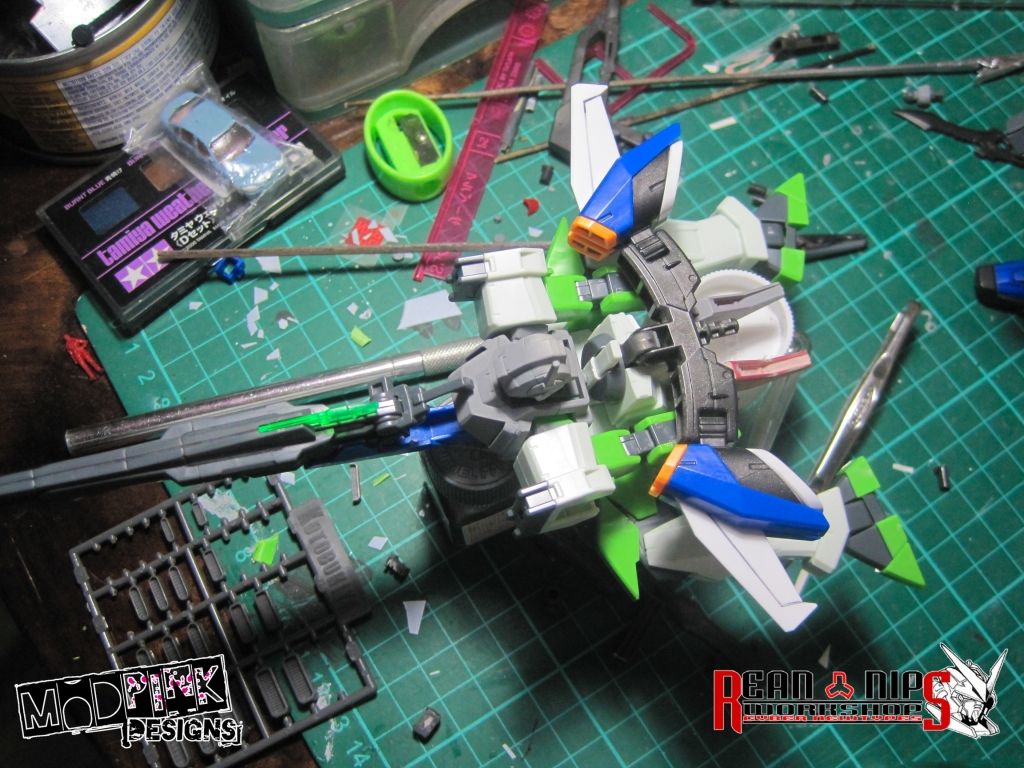
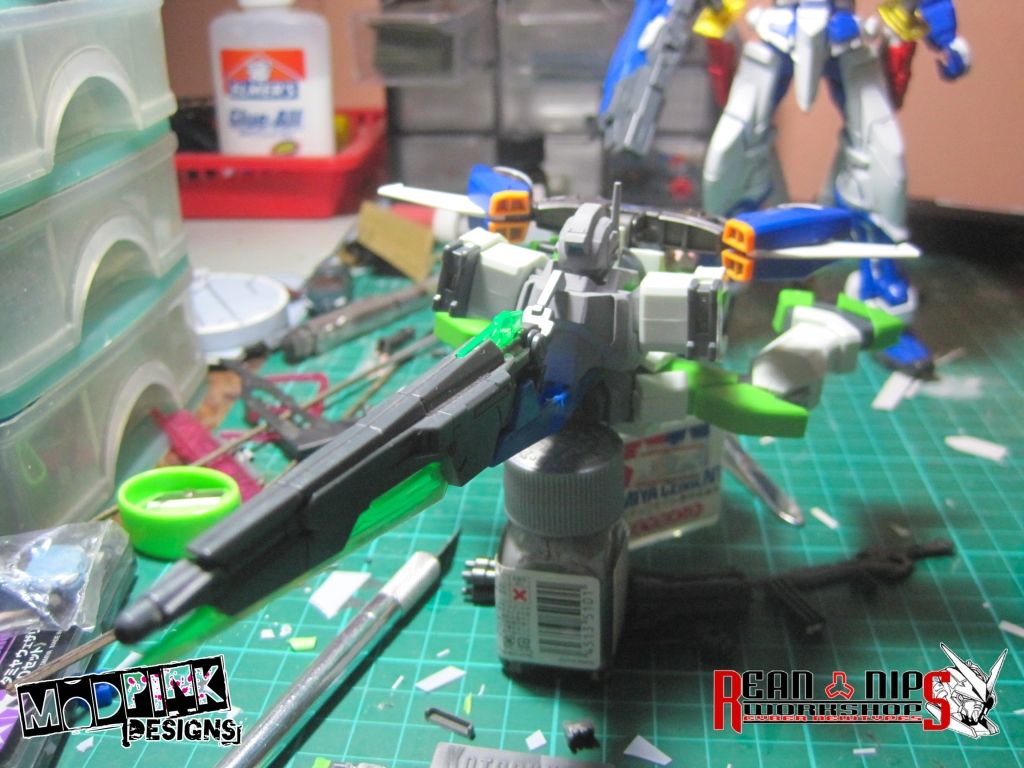
Next, I did some cutting on the backpack in order for me to attach the thing that will hold the TA's boosters.


Then I trimmed down the part that will hold the Tactical Arm's boosters, so it can fit in.

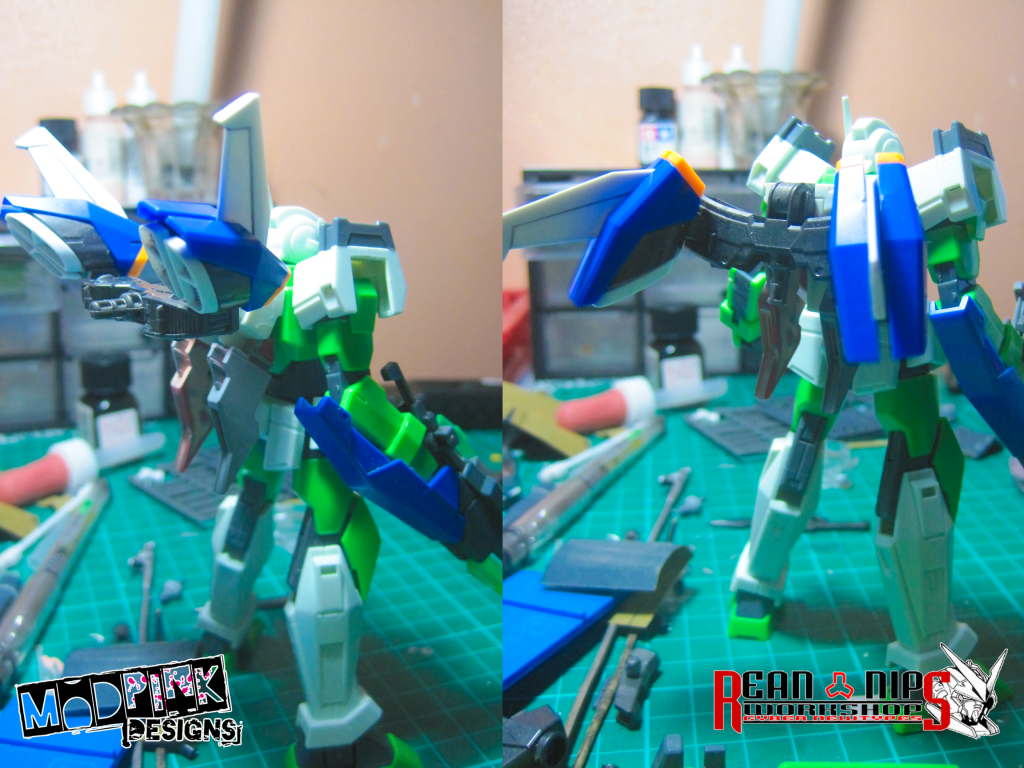
I then attached the boosters on the backpack of the Shaldoll.

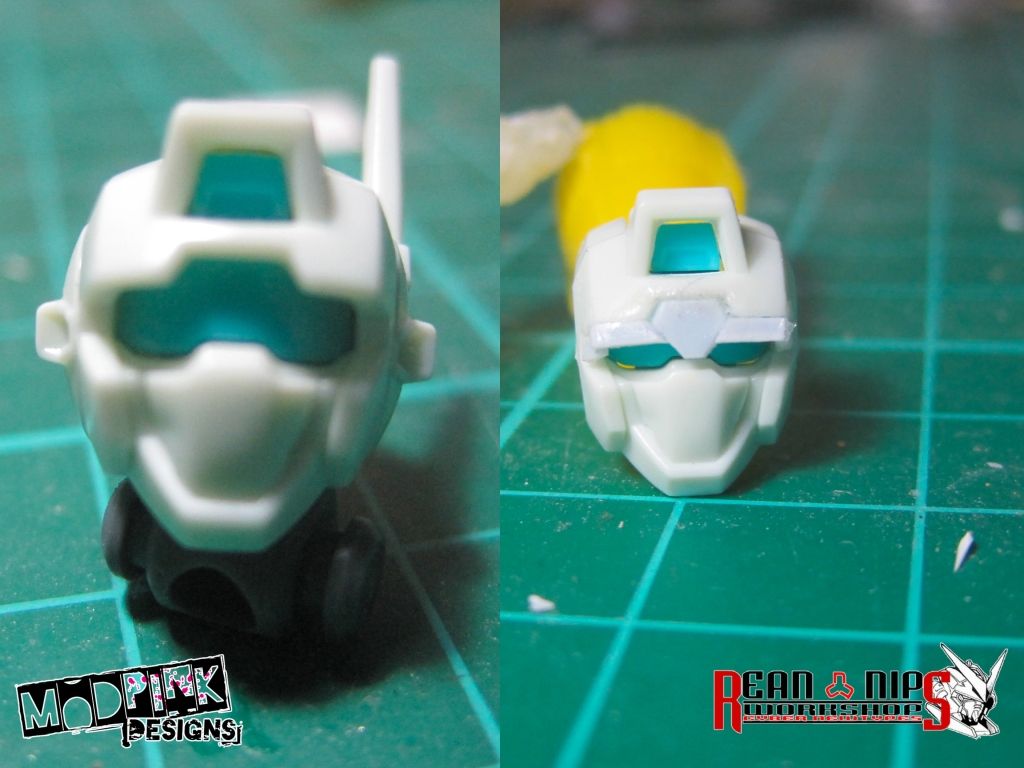
Next is, I worked on the head. The eye lens for me is too big, so I decided to make it a bit smaller somehow :). Using a .5mm HIPS (High Impact Plastic Sheets) I did this.

Sanded the putty I applied, and primed it to see if there are still something to work on.

Still needs a lot of work on the head though haha :)).
Removed the design on the body, and replaced it with a koto part.


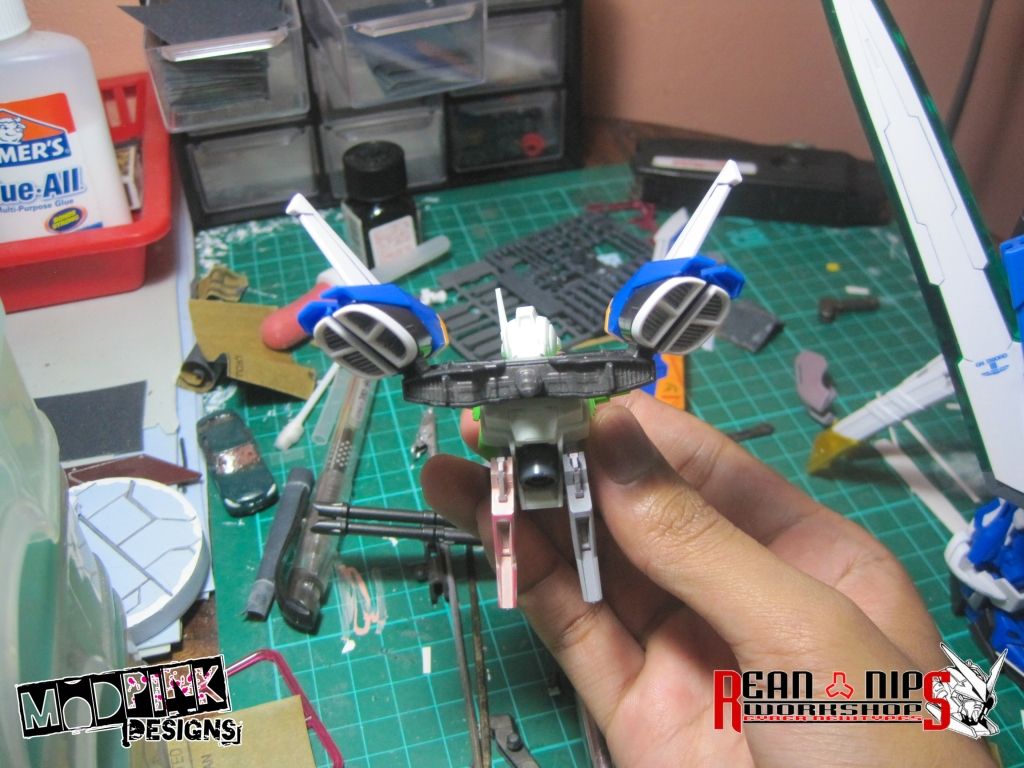
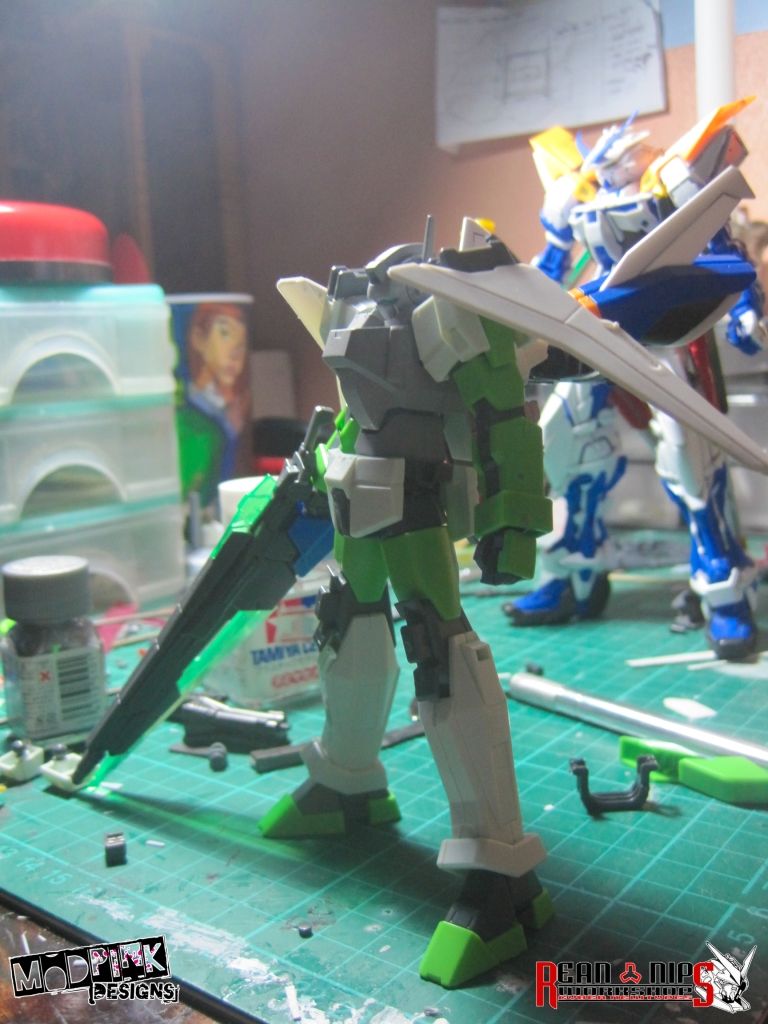
And oh! Look! It can transform now! haha!


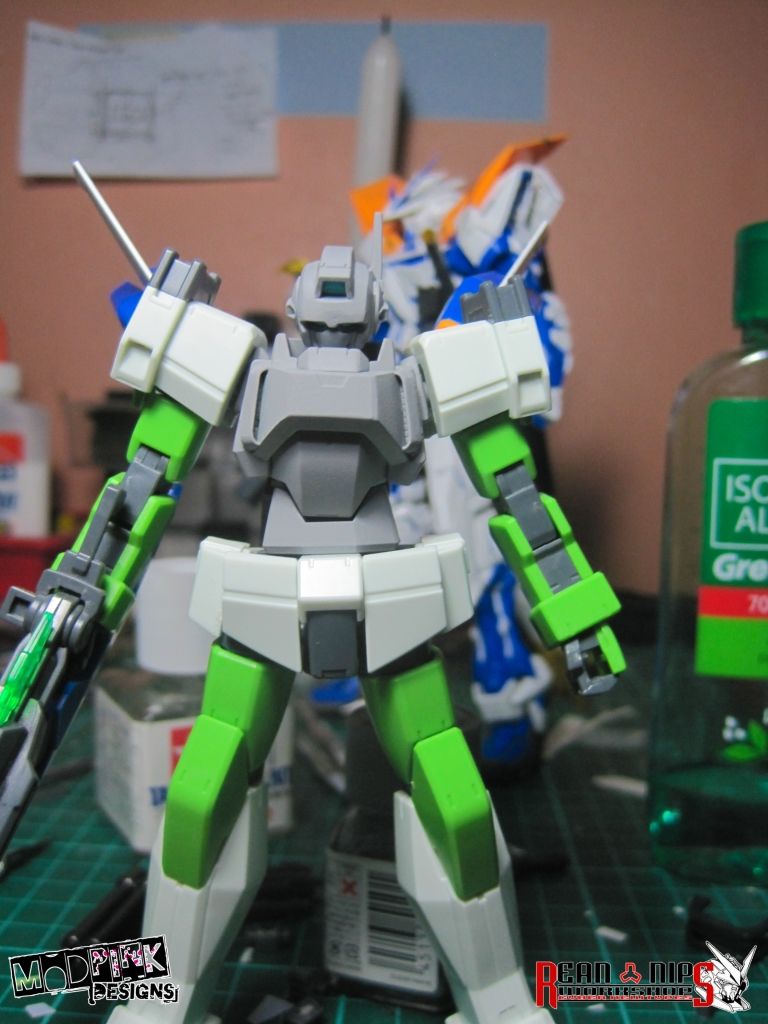
I also added wings on the shoulder armor, still working on it.

Till next update~
First of, this is what I plan on doing on it's backpack.
Next, I did some cutting on the backpack in order for me to attach the thing that will hold the TA's boosters.
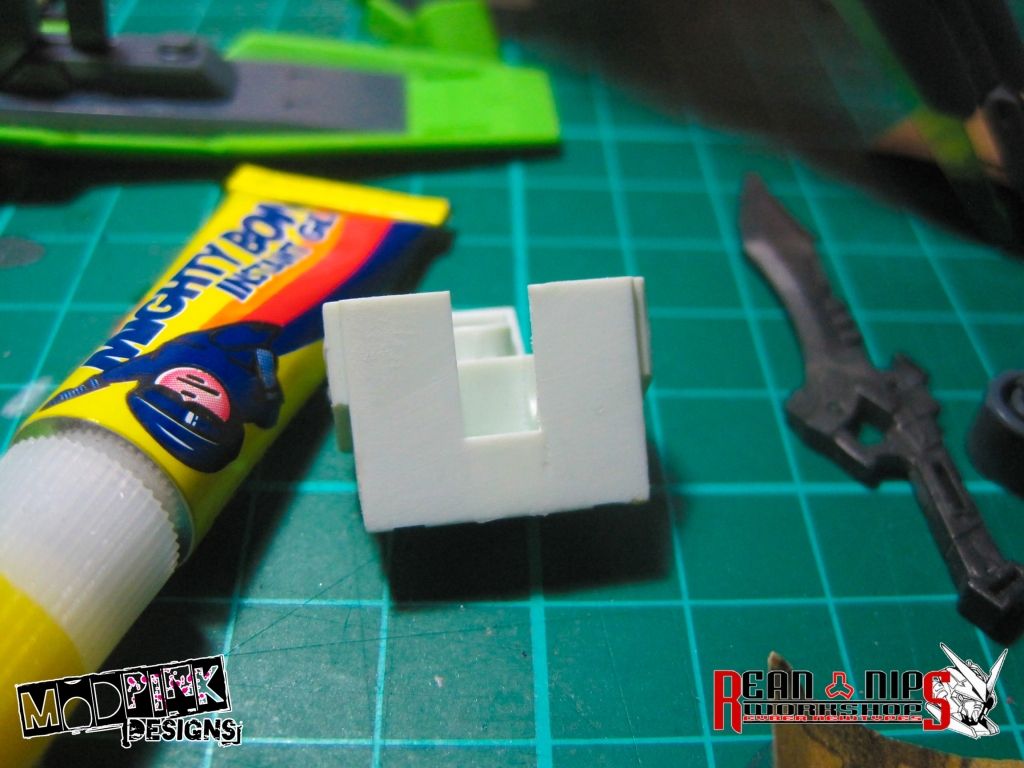

Then I trimmed down the part that will hold the Tactical Arm's boosters, so it can fit in.
I then attached the boosters on the backpack of the Shaldoll.
Next is, I worked on the head. The eye lens for me is too big, so I decided to make it a bit smaller somehow :). Using a .5mm HIPS (High Impact Plastic Sheets) I did this.
Sanded the putty I applied, and primed it to see if there are still something to work on.
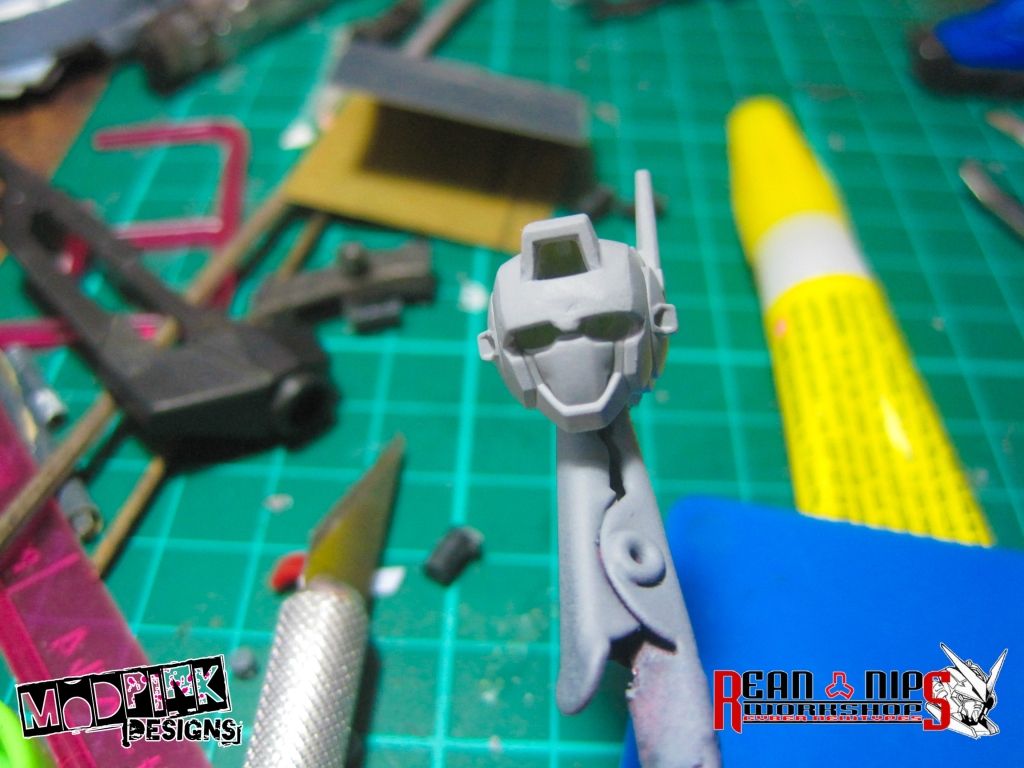
Still needs a lot of work on the head though haha :)).
Removed the design on the body, and replaced it with a koto part.

And oh! Look! It can transform now! haha!

I also added wings on the shoulder armor, still working on it.
Till next update~
Comments
Post a Comment