I've finally decided to paint my MG Strike Freedom FBM; and actually, this is my second attempt to paint a kit. I didn't finished my first one, and there's nothing wrong on my first one, except for the nearest DIY/Hardware Shop in my place. Why? they don't have the paints I needed for the color scheme for that kit. And I lived at Zambales, there's no hobby shop here, no where to buy authentic/original Bandai kit. I have to get myself to manila, which is 400php away from here lol. So the project was stopped :P
Anyway, before I plan on priming the whole kit [the armor parts], I still need to do a lot of nubmarks fixing! Since when I assembled this kit, it's actually the first time I used a cutter and messed up a bit xD. I found/learned this "technique' from a thread @ MechaPinoy, and asked some of my friends who are modelers if this is effective enough to fix a very nasty nubmark(s).
Well, so far so good :)...Below are pictures from what I did the WHOLE day lol
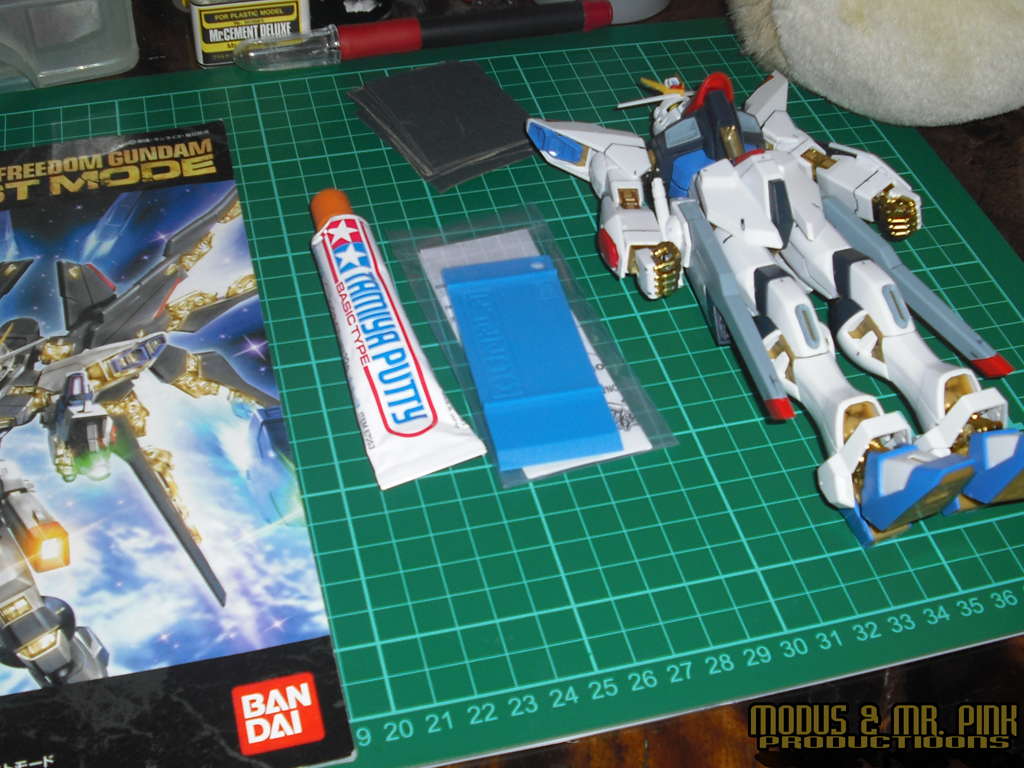
First of, prepare the tools and the Kit [of course! lol]!!

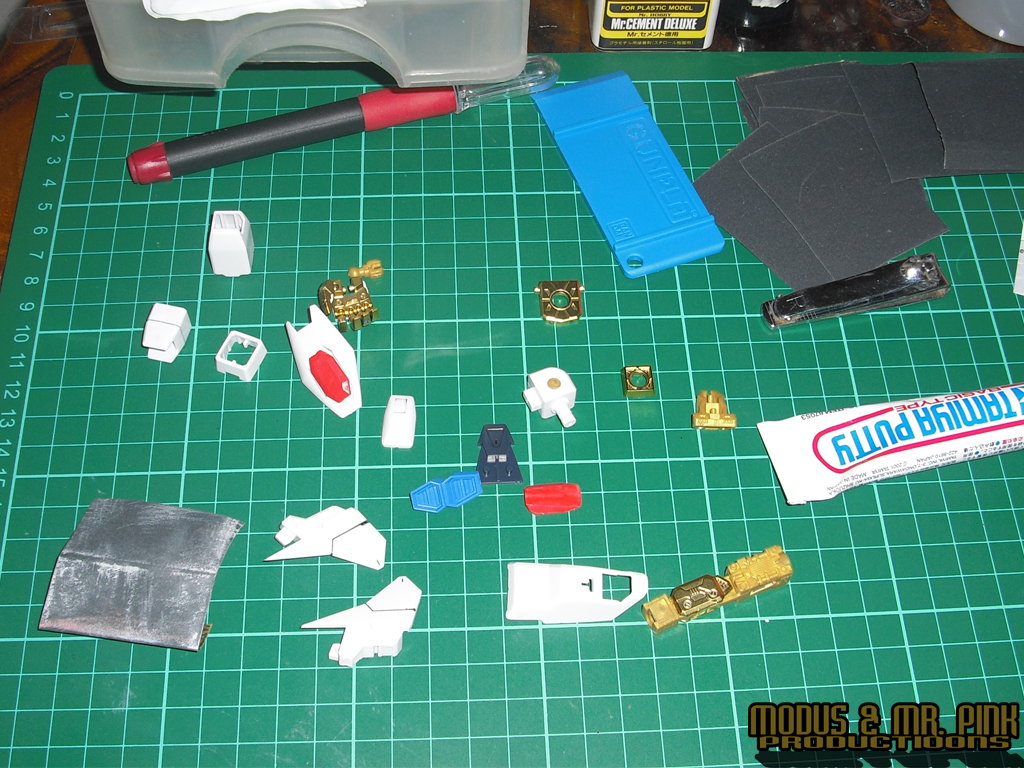
Started dis-assembling the right arm and sanded the nubmarks :)

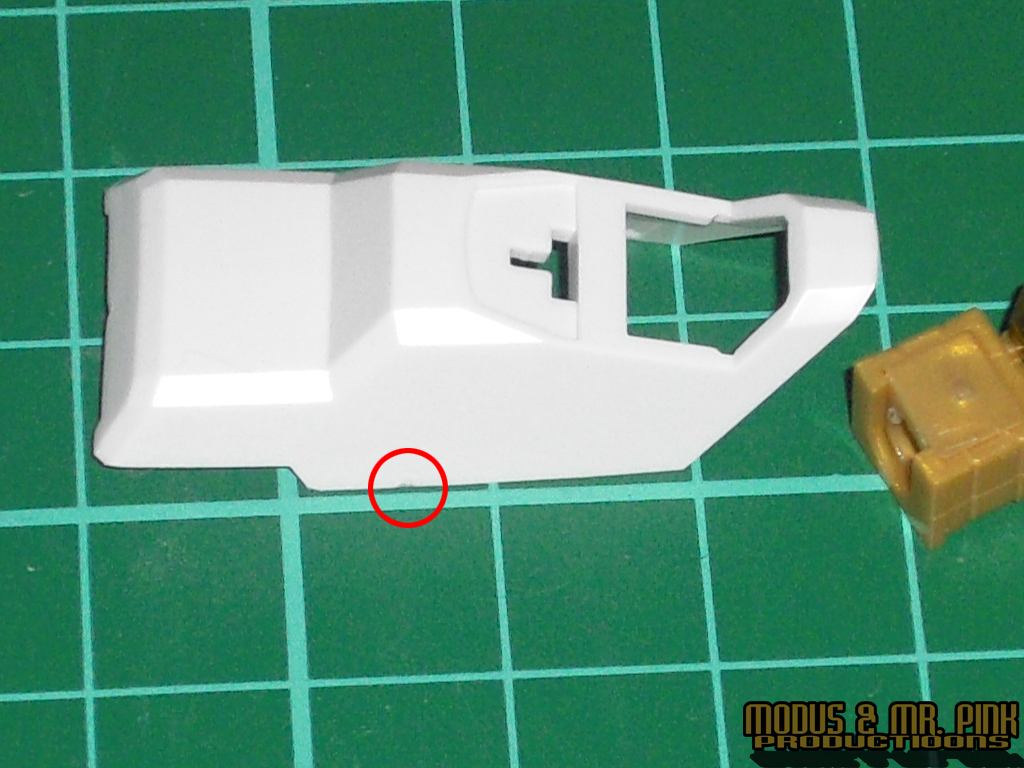
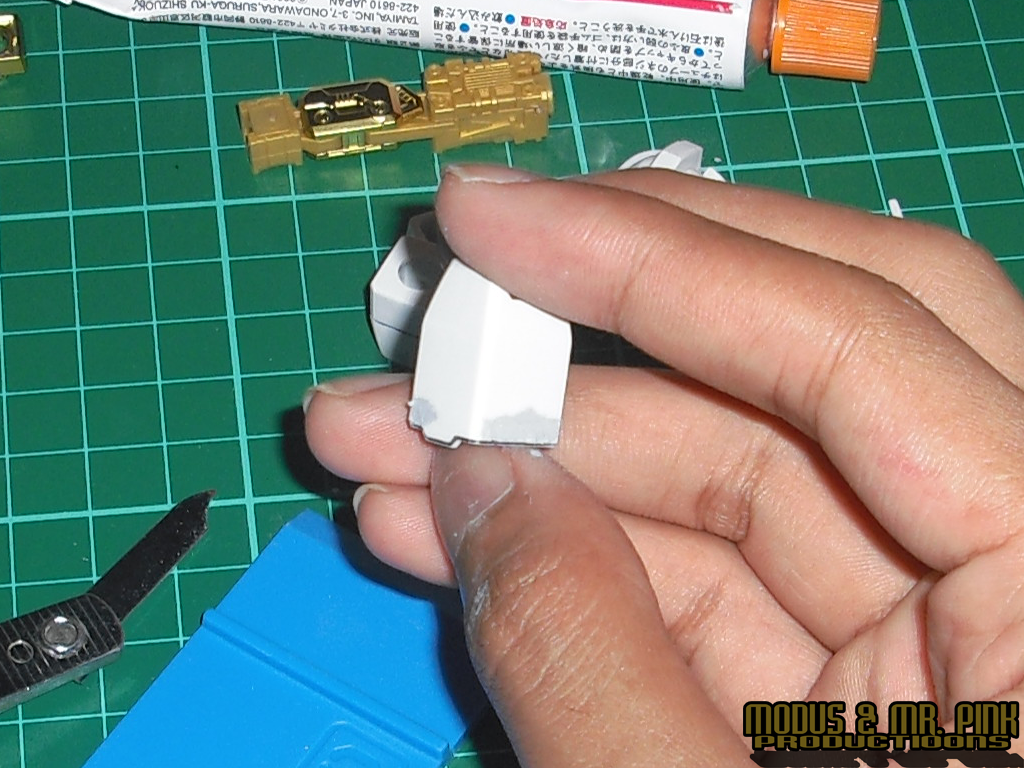
Putty session!!!!


ugh!...I hate this part..SANDING the parts! lol


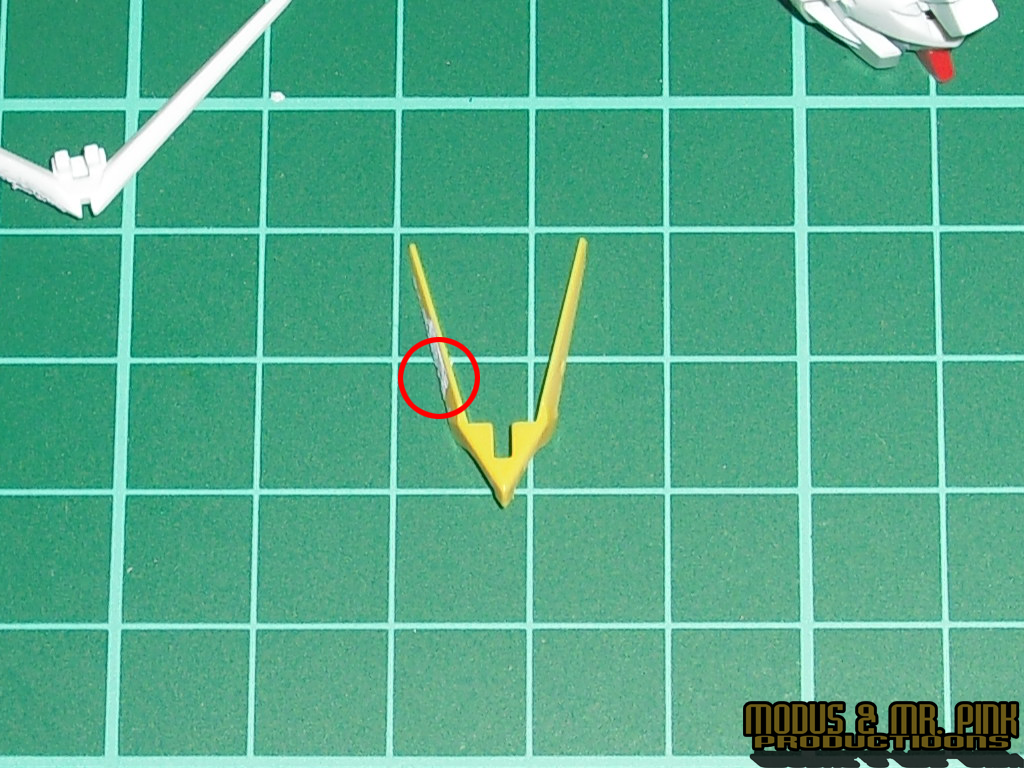
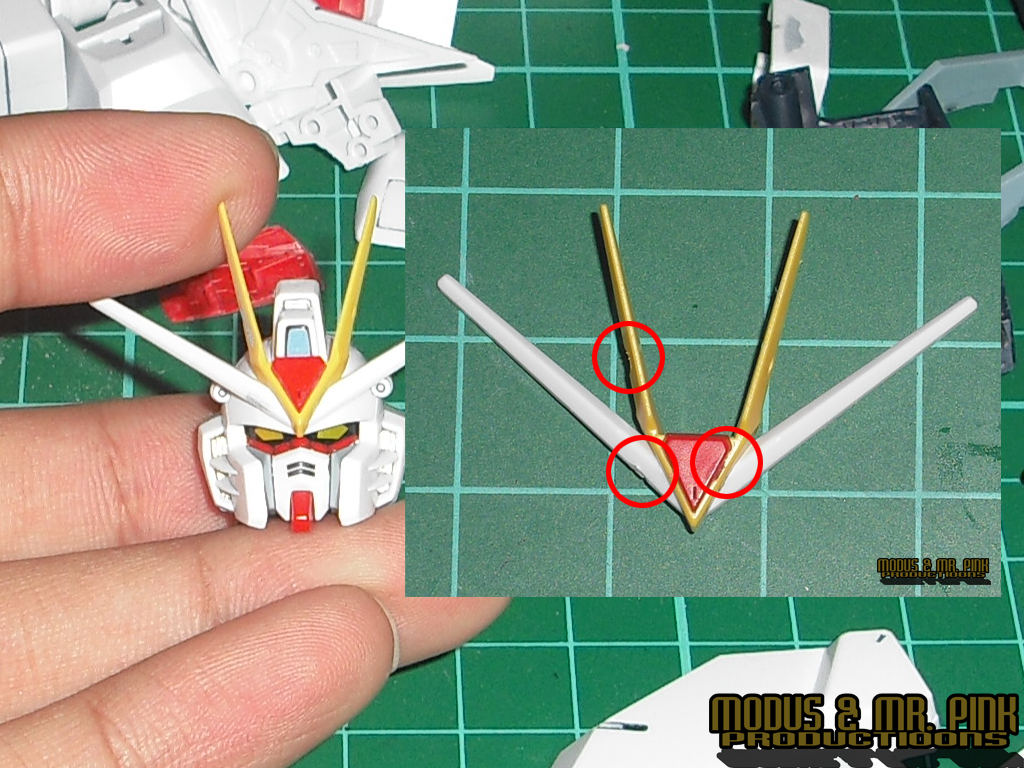
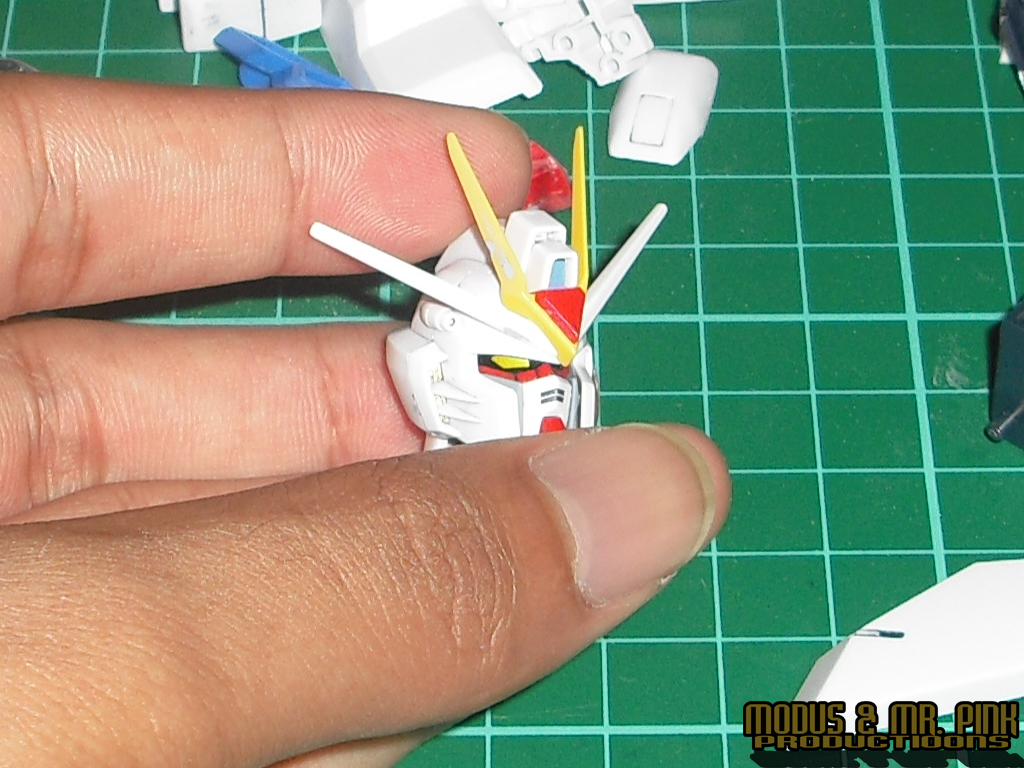
A quick comparison from the V-fin before ;)


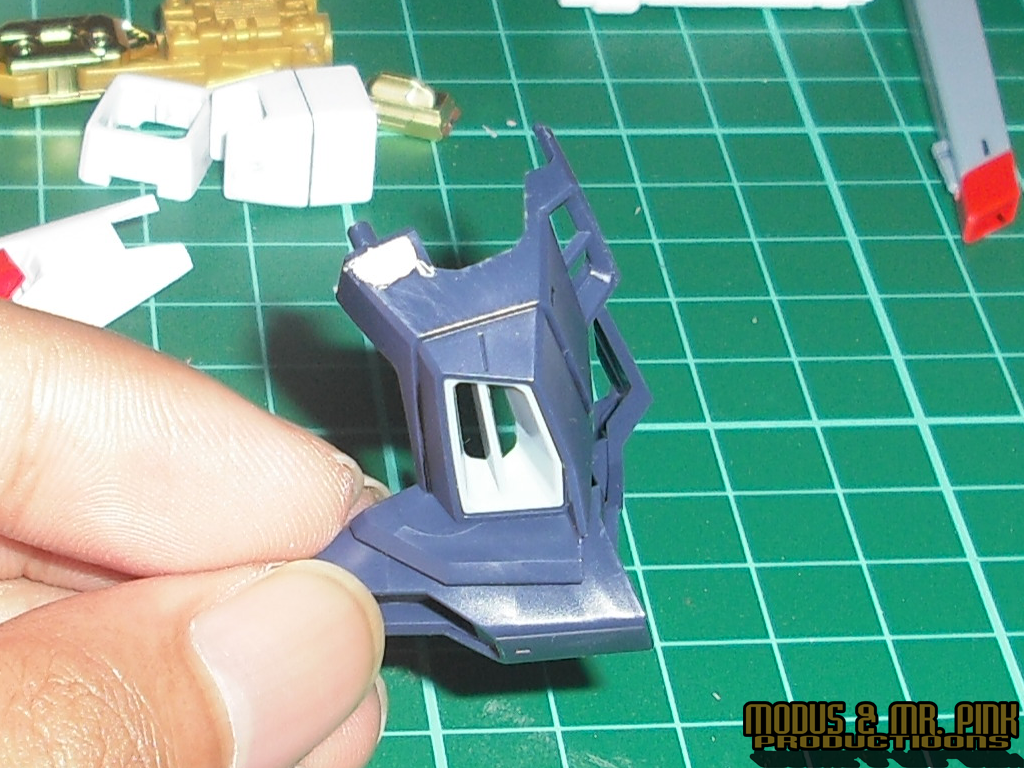
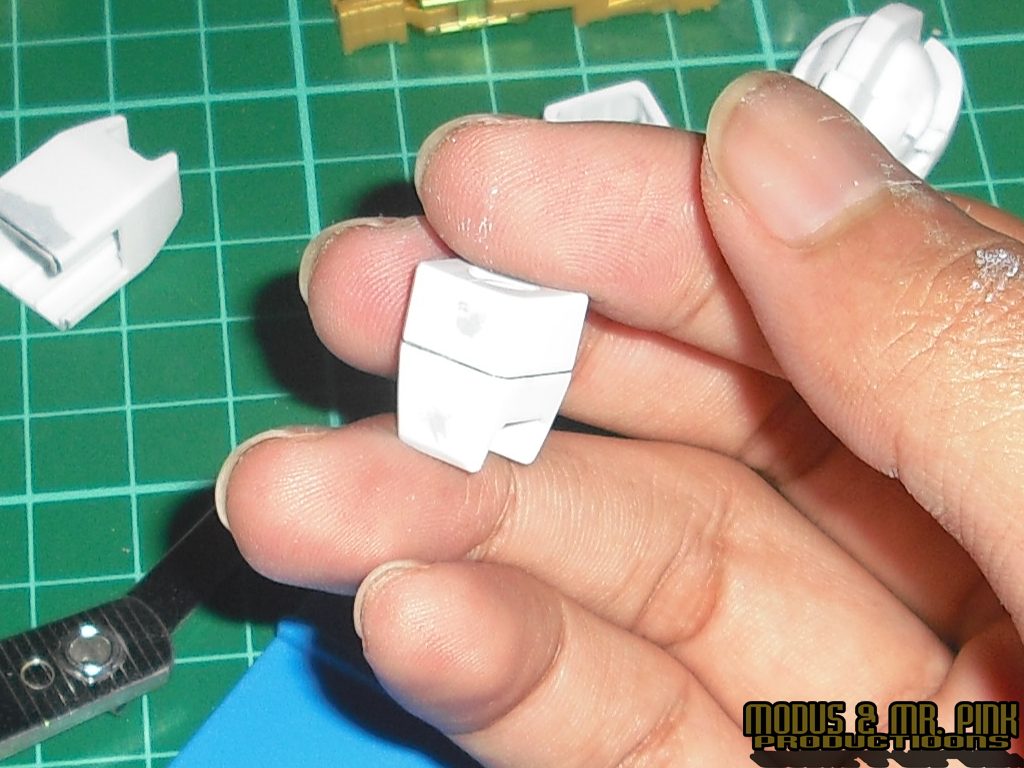
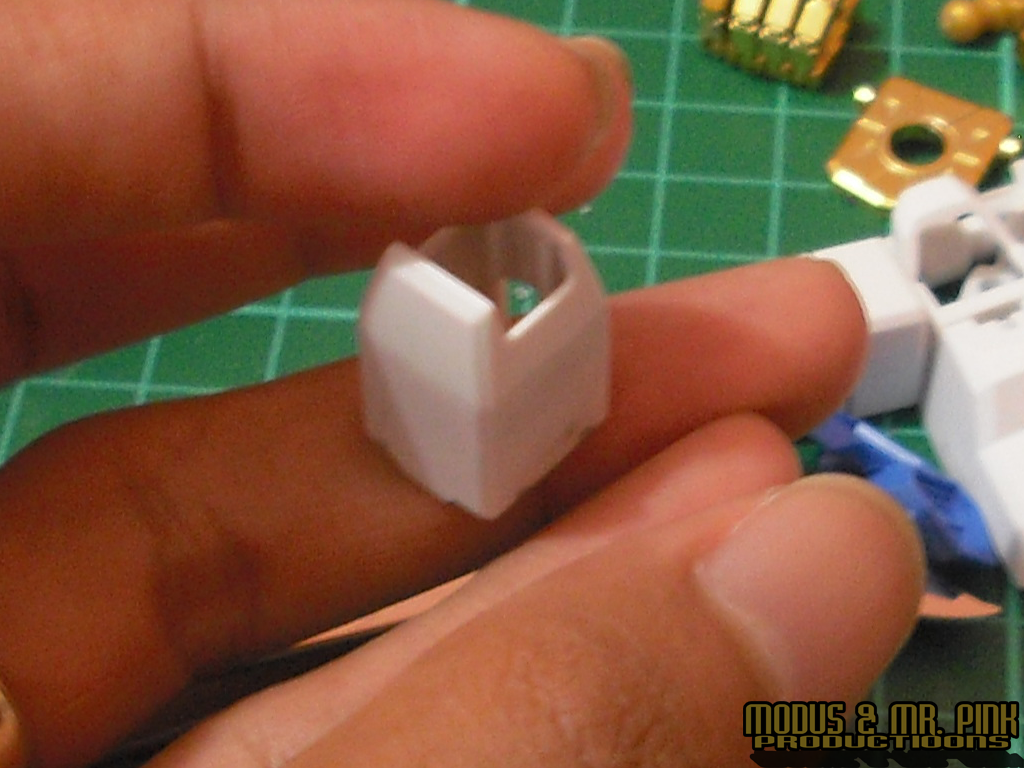
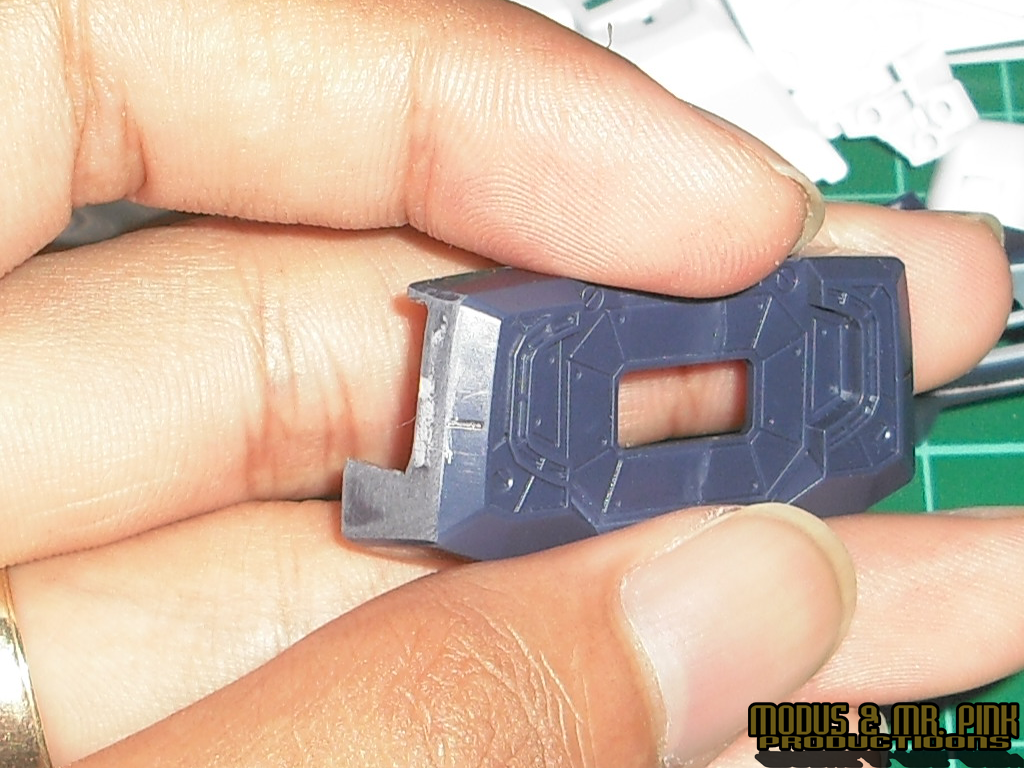
Chest armor parts!

I broke this part while sanding :(( *silly me*.. so I glued it back :)

That's it for this day! will update this WIP as much as I can! I really wanna do finish this one XD
Anyway, before I plan on priming the whole kit [the armor parts], I still need to do a lot of nubmarks fixing! Since when I assembled this kit, it's actually the first time I used a cutter and messed up a bit xD. I found/learned this "technique' from a thread @ MechaPinoy, and asked some of my friends who are modelers if this is effective enough to fix a very nasty nubmark(s).
Well, so far so good :)...Below are pictures from what I did the WHOLE day lol
First of, prepare the tools and the Kit [of course! lol]!!
Putty session!!!!


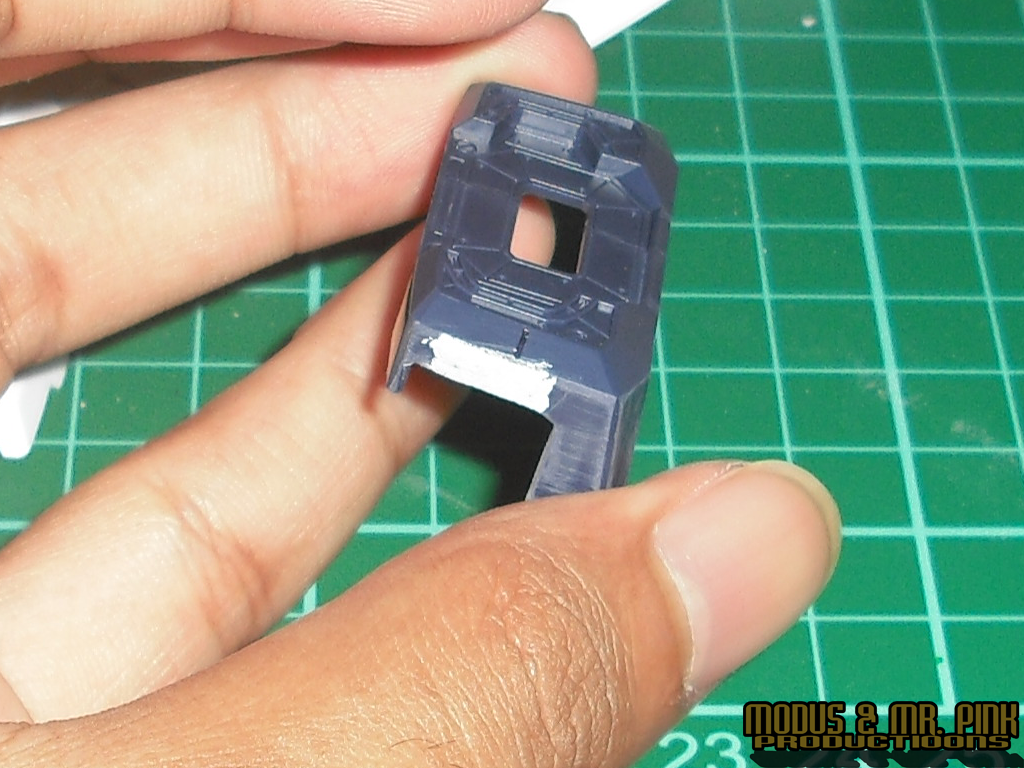
ugh!...I hate this part..SANDING the parts! lol
A quick comparison from the V-fin before ;)
Chest armor parts!
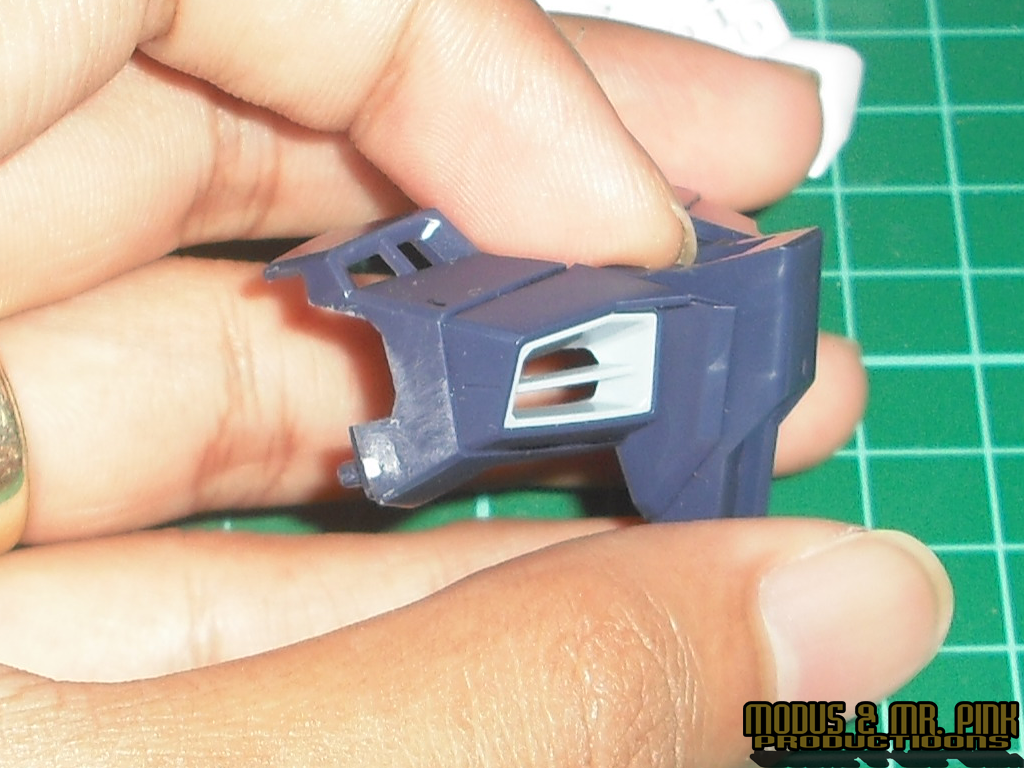
I broke this part while sanding :(( *silly me*.. so I glued it back :)
That's it for this day! will update this WIP as much as I can! I really wanna do finish this one XD
GOODLUCK!!! :)))))))
ReplyDelete