
OPERATION: ANEMONE (WIP Bearguy)


OPERATION: ANEMONE!

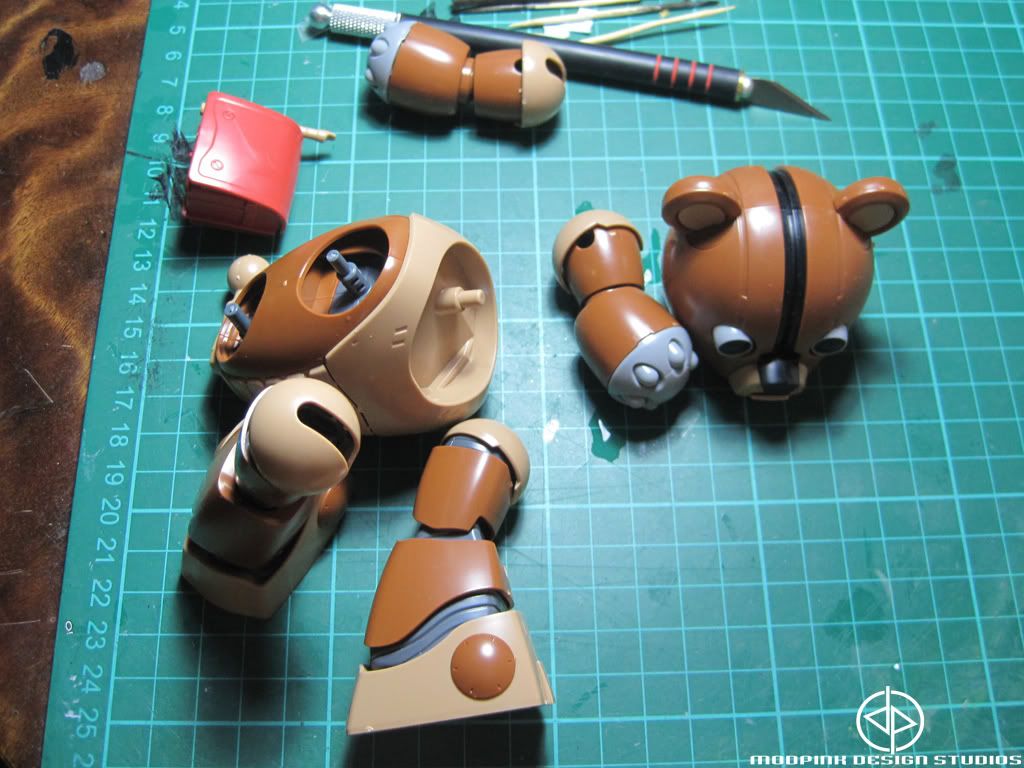
Hi guys and girls! It's me again! XD. I do have a new project and this is the HG-GPB Bearguy that I recently bought. I'm planning on painting this pink (finally! XD) using spraycans as usual.

OBJECTIVE:
My initial goal was to finish this guy on or before February 13, so I'm pretty sure you already get what this kit is actually for :). Will also try and do a minor mod on the head (the mono-eye thing). To add up, I'll be actually doing 2 Bearguys. Tho, still haven't got my hands on my third one (YES, I already got 2, and I'm planning on getting another one just for this project lol, while the first Bearguy will just be plainly snapbuilt).

And so..It has begun!..

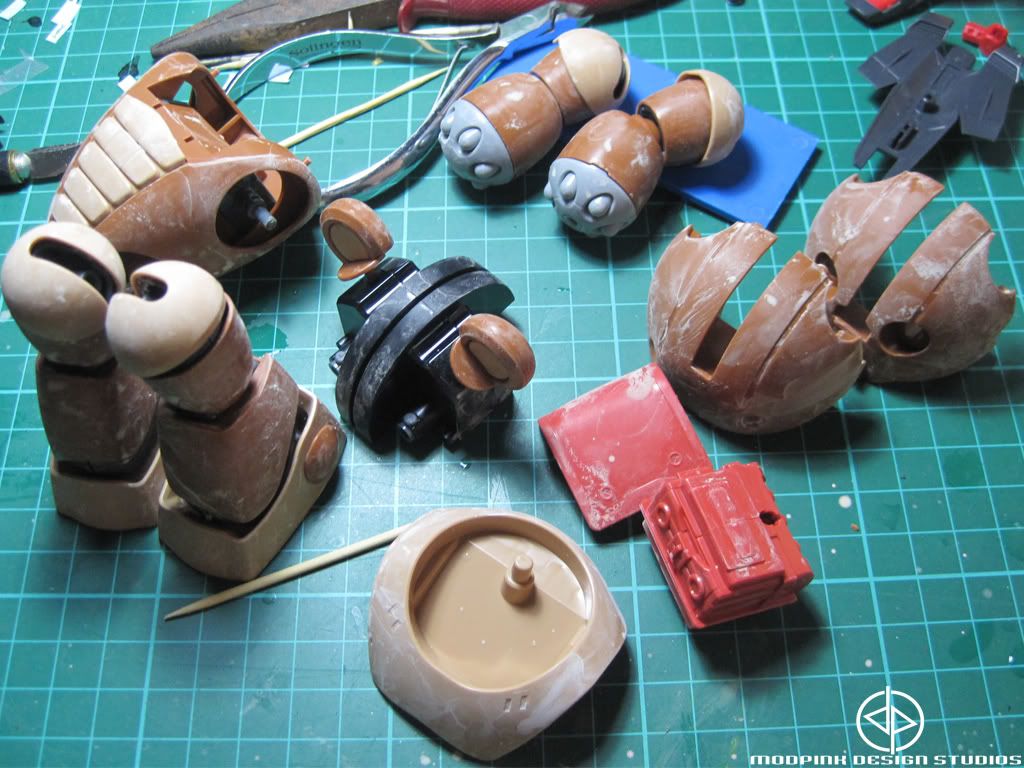
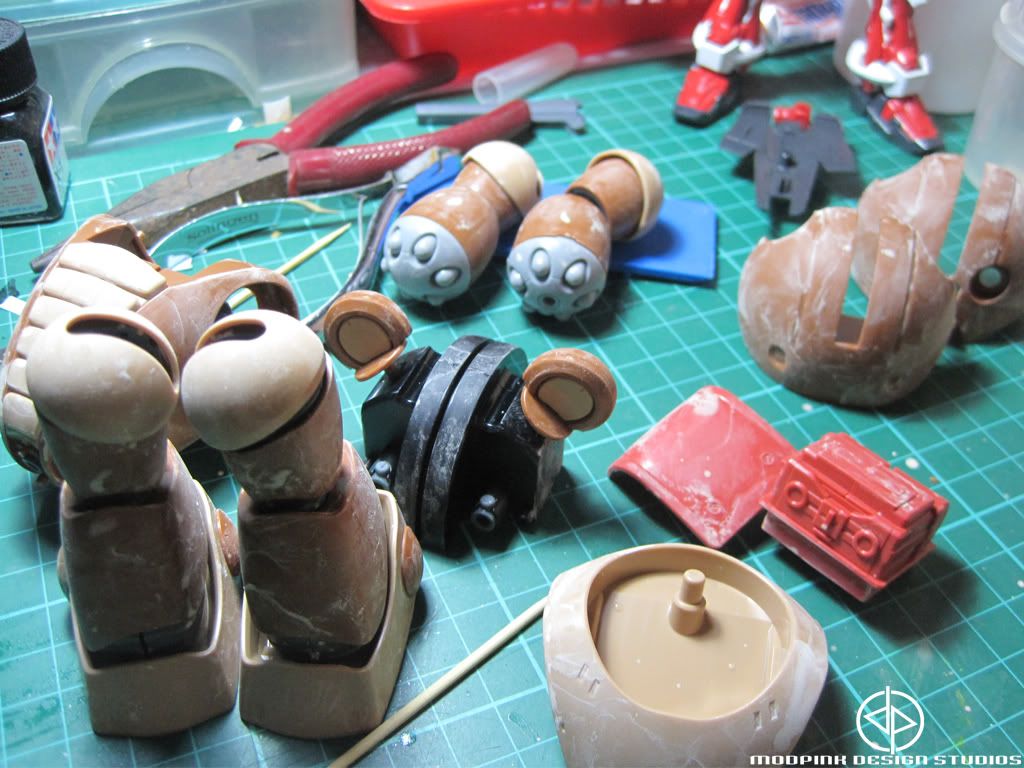
Did a wetsanding on the kit, here are the photos taken:

Before wetsanding:

After:


Now, time to remove those visible seamlines!


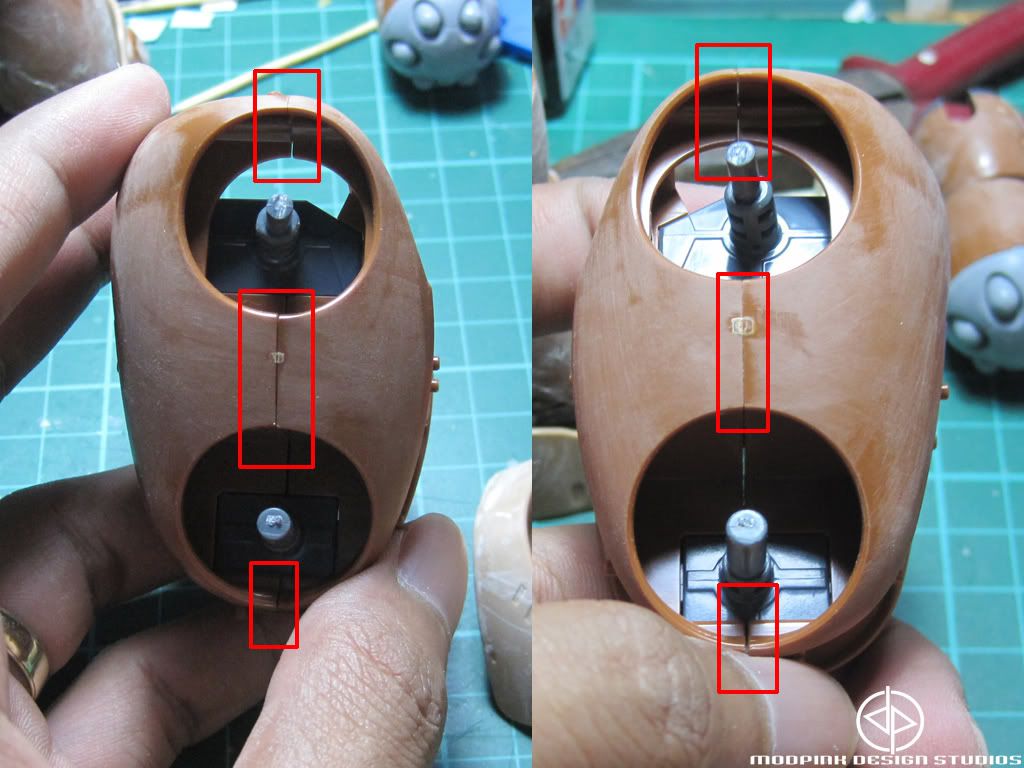
Applied cement and this is how it looks like:


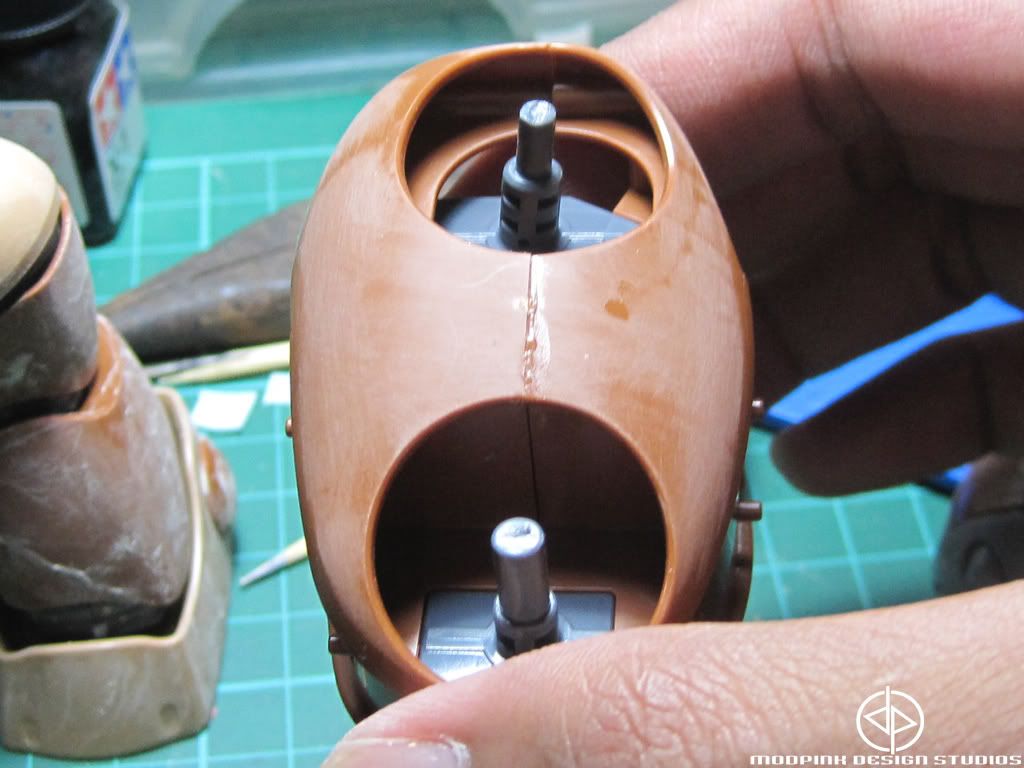
Waited for a day (12-18hrs) for the cement to cure, and sanded the body. Primed it afterwards and the seamlines were still visible :(.


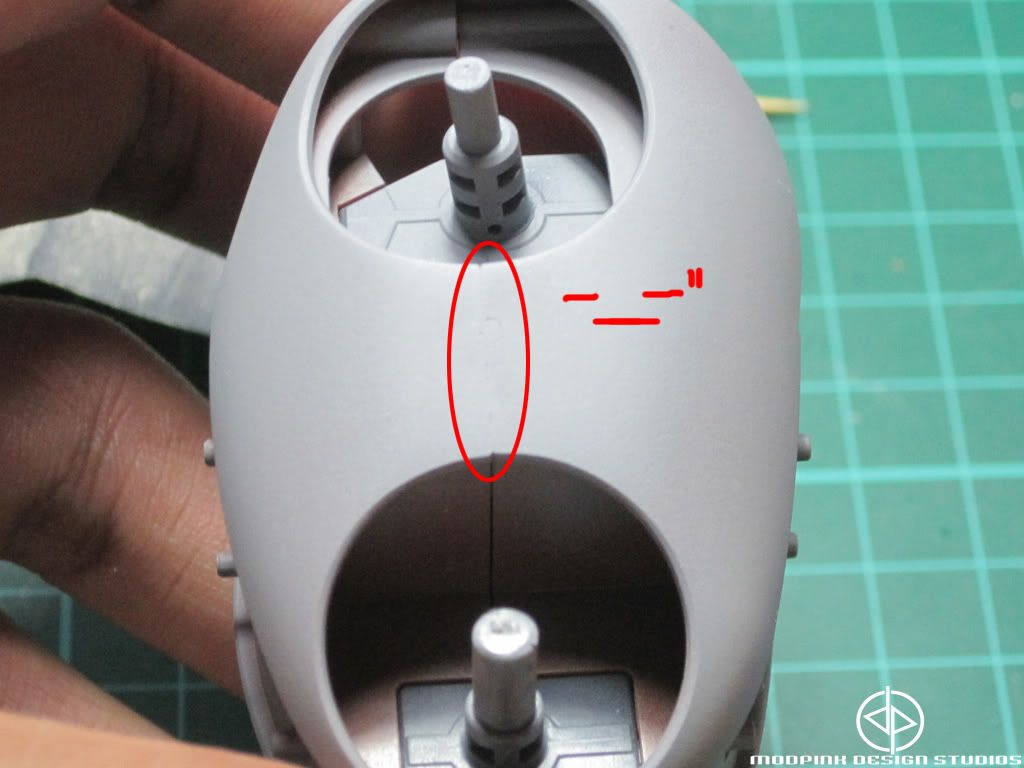
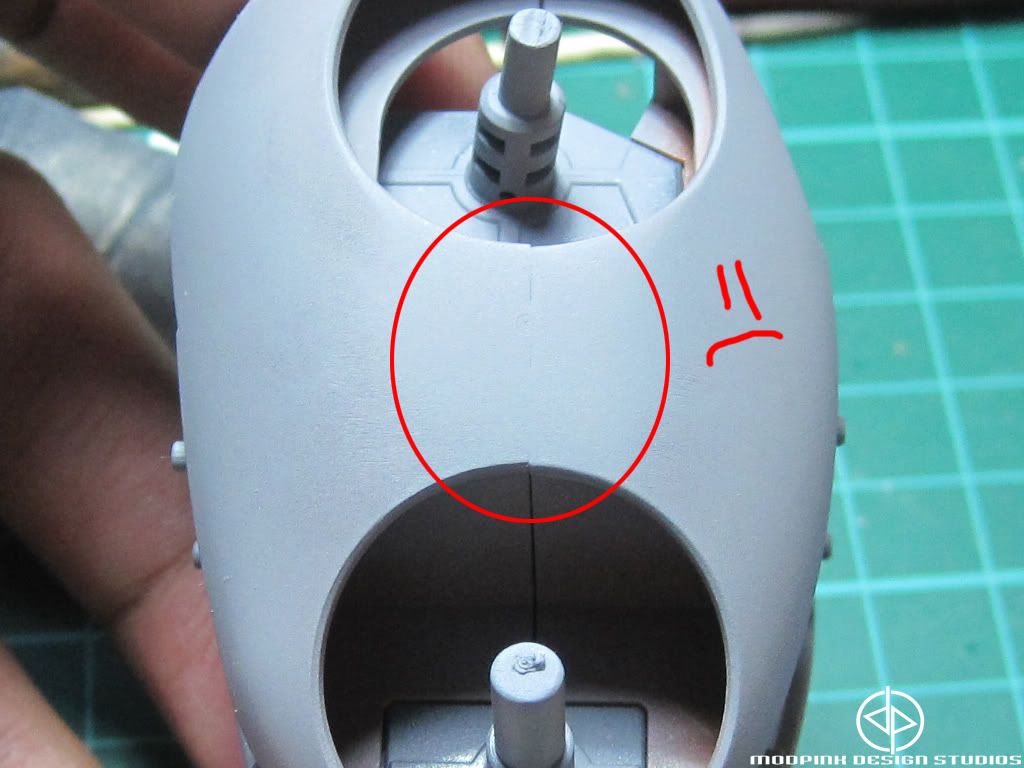
But! no worries! Putty will save the day! YAY!


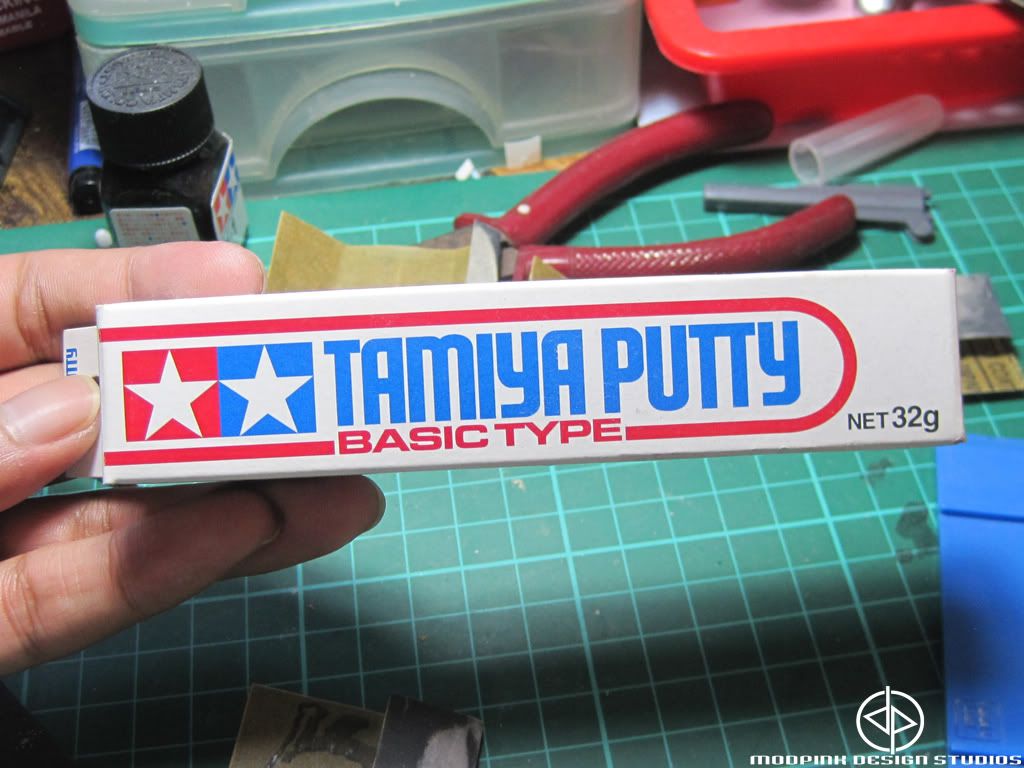
Applied it on the visible seamlines and yeah..did wait for a day for the putty to cure up :)..sanded it afterwards:
Ran out of primer but, It should be fine after priming :)..


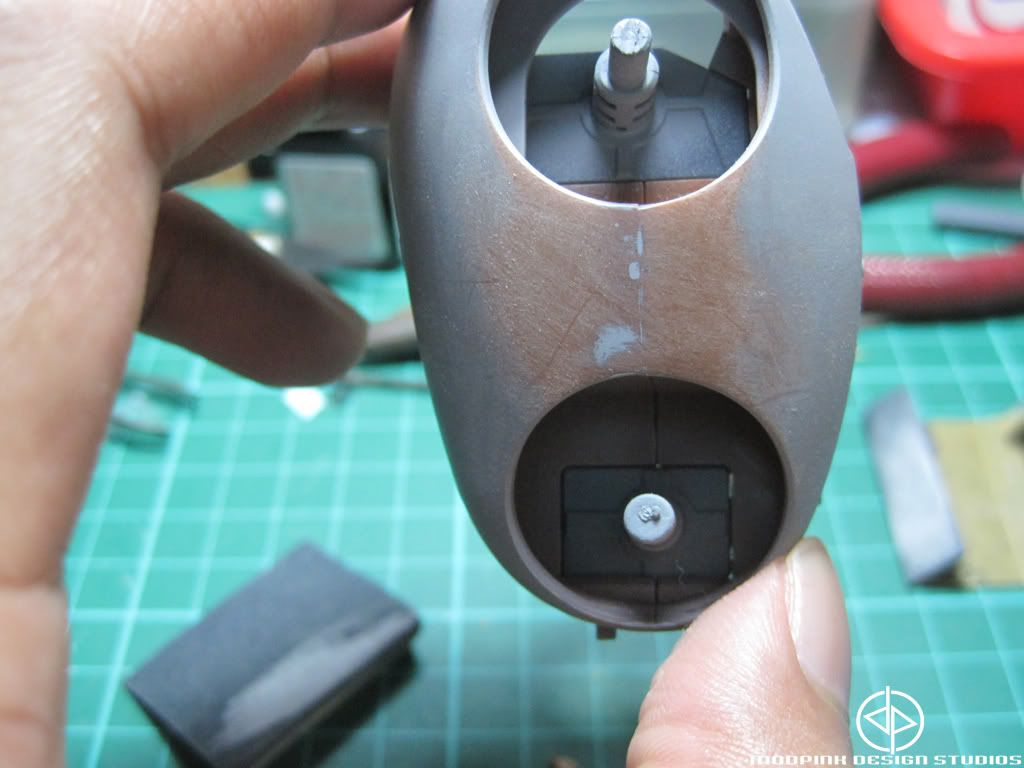
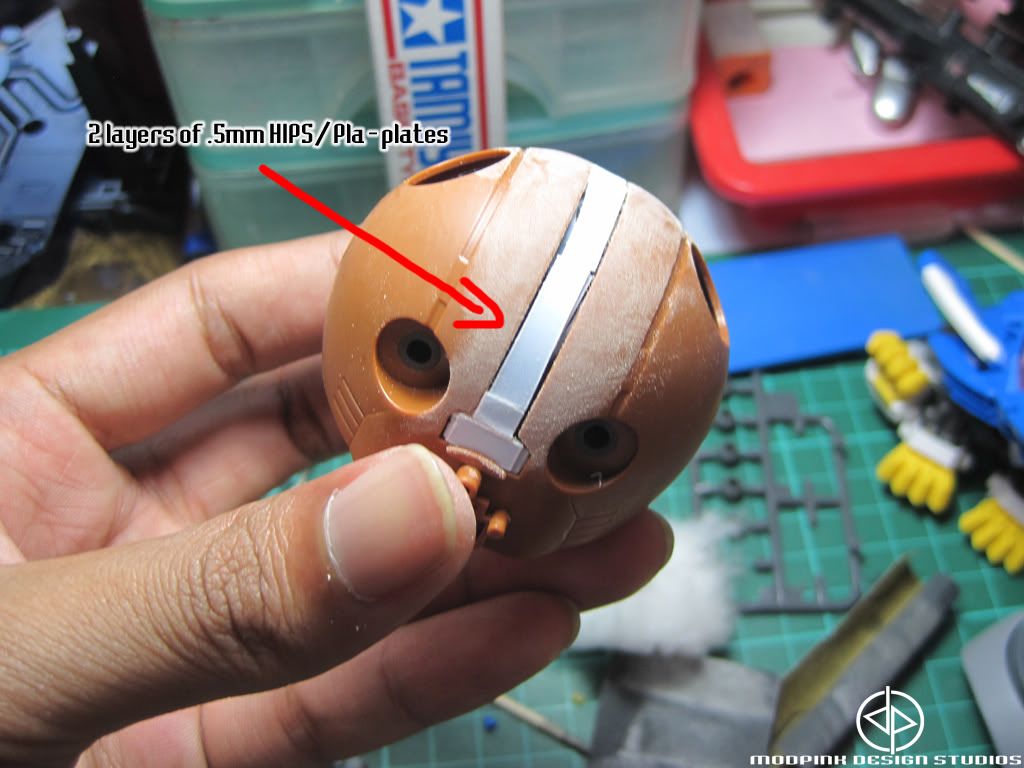
And now, the head XD..did a lil modification on the head, here it is:

Did the same thing on the head. Sand > Apply Cement > Let it dry/cure for a day > Sand > Apply Putty if seamlines are still visible :).


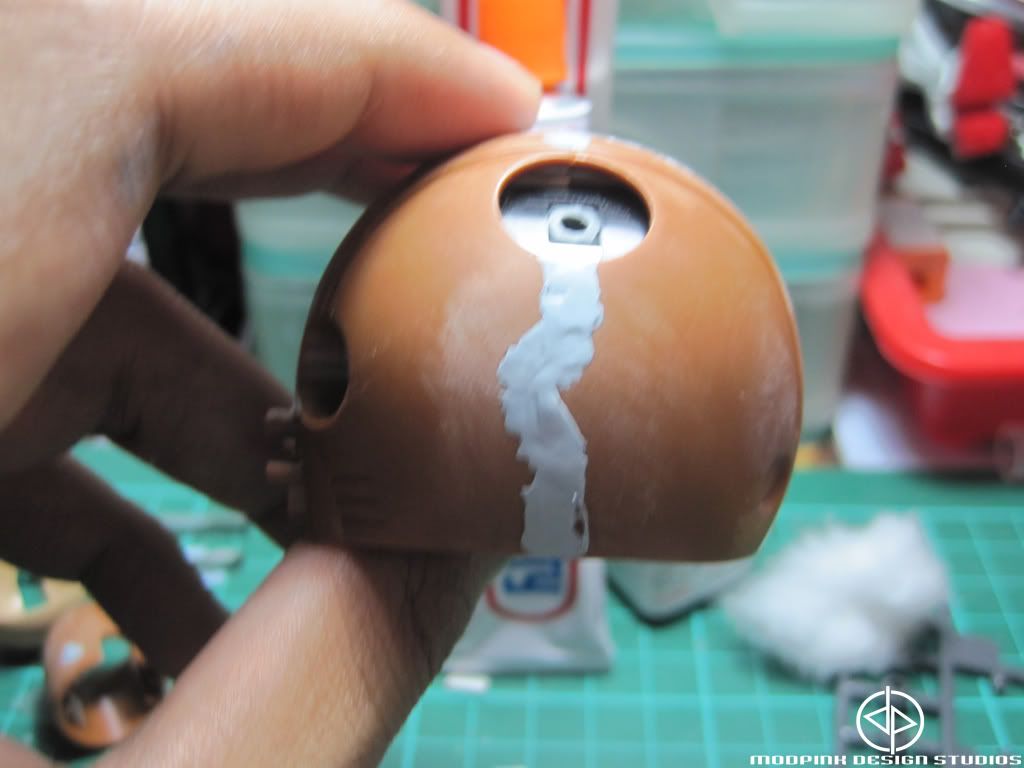
Now, this is the modification I'm talking about:


Filled it with putty afterwards :D


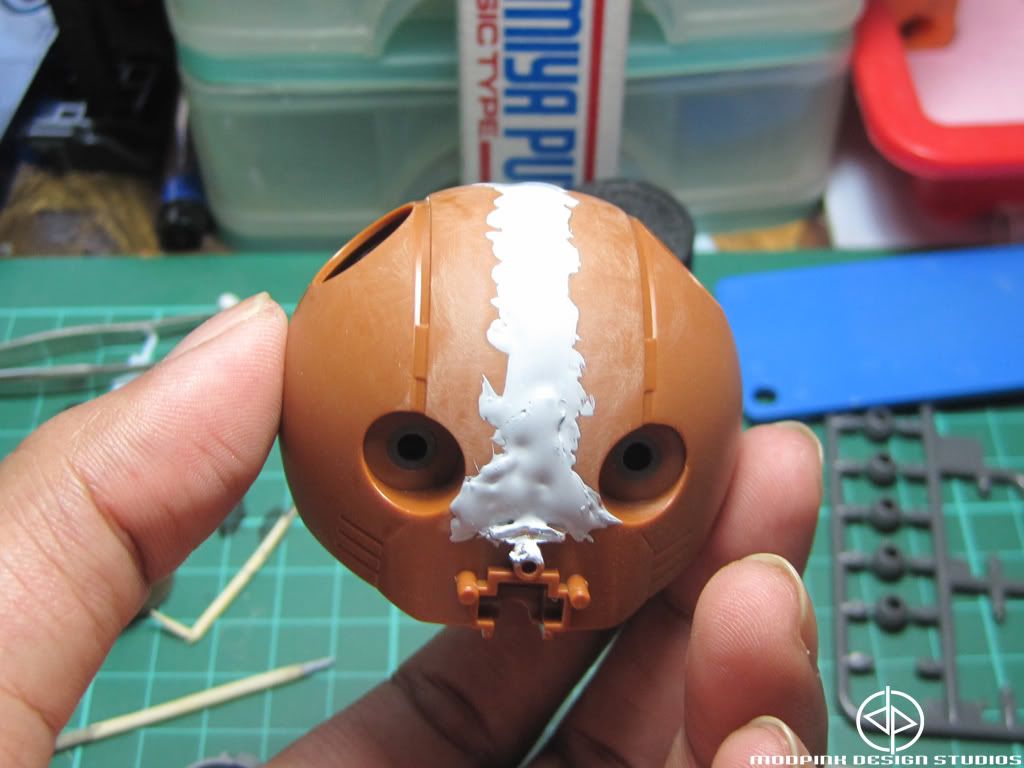
Waiting for the putty to cure up, and yeah! That's basically it for this update :D..till next update! ;)

Comments

  1. nice project bro! ako naman MG Sandrock ang ginagawa ko ngayon. Tho i'm just a newbie pagdating sa gunpla painting. visit me if you have time at http://mechatok.blogspot.com

    ReplyDelete
    Replies
    1. thanks bro! like you, I'm also new to painting! haha..Goodluck on your venture too bro :D.. btw, I added you to my blogroll ;)..

      Delete

Post a Comment

Popular posts from this blog

WIP Astraea

My very first WIP!..or better if I'll call it WISP!! *Work In SLOW Progress* lol XD...This is a 1/100 NG Astraea Type F :) I started w/ the shield :D

Progress so far (WIP Strike Freedom FBM)

I'm already done painting the whole frame and some of the armor parts of my SF, and if you'll ask me right now..I think I can finish this guy by this week. The only problem that's stopping me on finishing this guy is the Flat White that's not available here in my place. YES, it's NOT available..I already looked/asked EVERY HARDWARE here @ Castillejos Zambales, and at Olongapo! which pisses me off <_<..anyway, here's my progress so far.. Till my next post! :D

WIP: Operation AMRe: MG ARF Update #4

Hi guys! Finally! an update for this guy :). Been very busy on some school related stuffs like working on our Graduation Multimedia Presentation during our Graduation Rites, and I'm also in charge on our Digital Annual/Year Book of our batch, so Mr. Pink is super busy atm! Since our Team is on a break as we speak, I decided to work on my Astray. So, here's what I did this afternoon after eating lunch and the past few days :). First of, I used the Kotobukiya Piston's I ordered last week from  Sir Migs/M1gs  to somehow add detail(s) on the waist part of my ARF. I still plan on adding more details to it. That's it for now. Then after attaching the upper body on the waist, I noticed that the left leg is a bit wiggling for some reason. Until I checked it out and I found a broken peg :O Well, luckily I remembered that we had a 'how-to-fix-a-broken-peg' topic before on our Facebook Group. So I gathered up all the materials that I'll be needing on r...