
WIP: Miku Ver. Pink


Got this as a gift from my daughter. It's a bootleg but hey! It's the thought that counts, right? :P. She went all that trouble just to get me one, and to think that she has a daily school allowance/baon of only 20-30php <3.

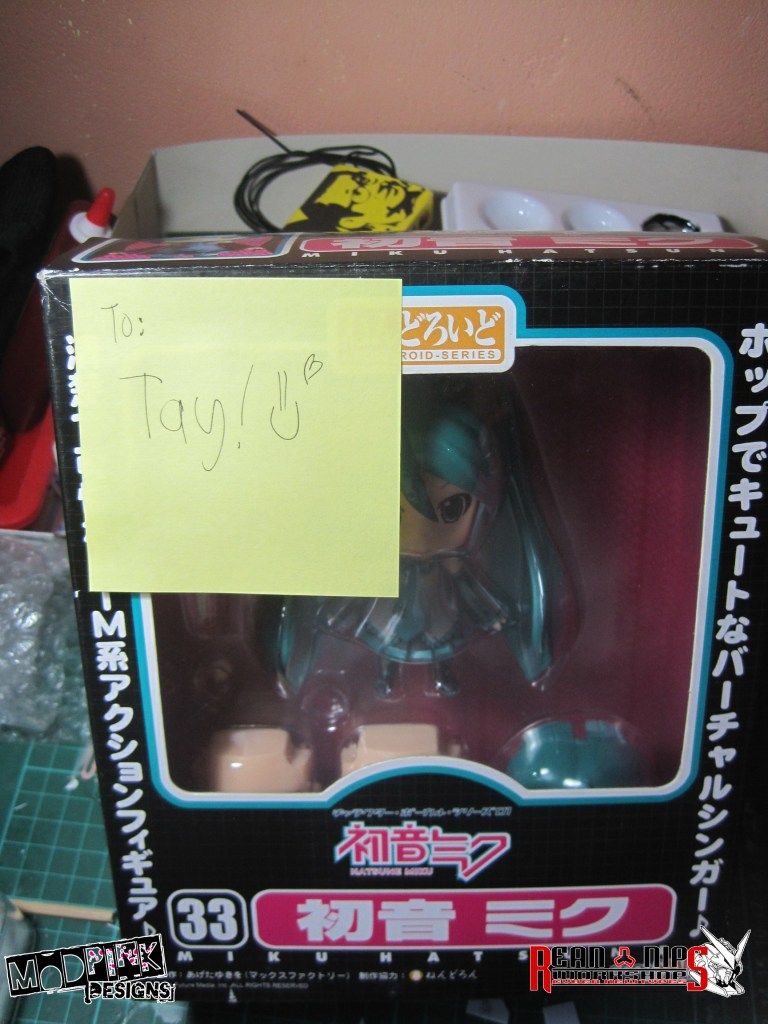
Been wanting to have a nendo myself. Just couldn't get one 'cause I'm focused on my Astray atm. Decided to give it a Pink scheme so that I'll have my temporary flagship :). Here's the photo before painting.


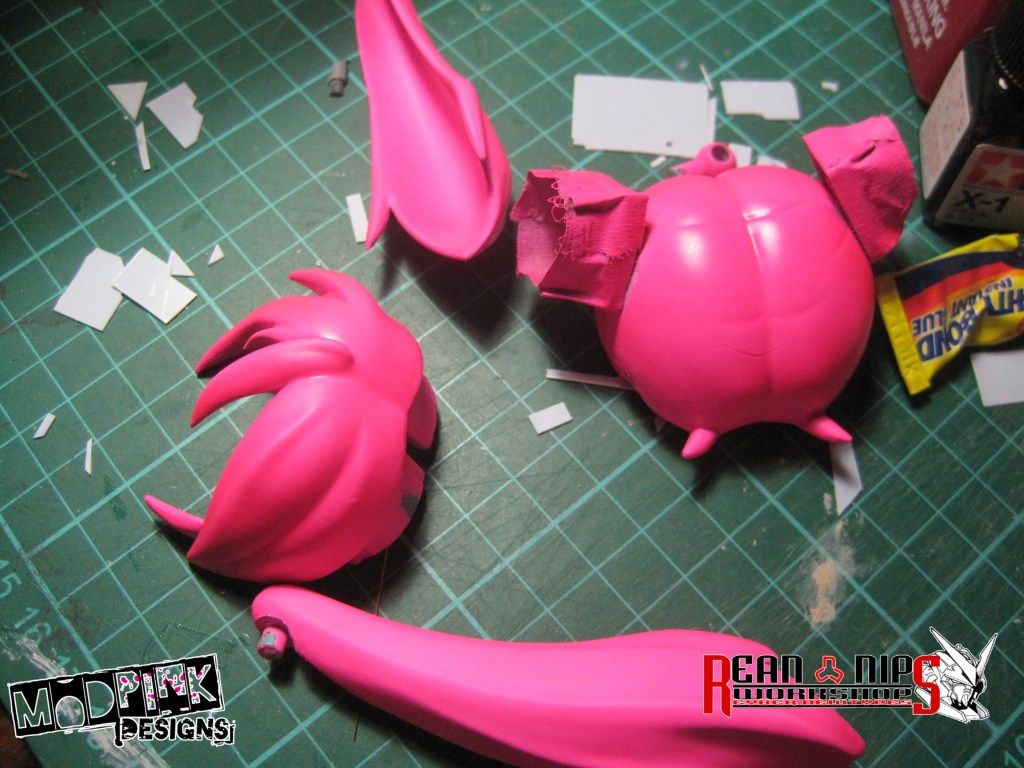
After a couple of hours and numerous trial-and-error. Did some 'pre-shading' stuff on the hair. Not sure if you can notice it on the photo though :(


Well, that's it for now. Will try to finish this ASAP. Till then~

Comments

Popular posts from this blog

Mr. Pink tried using 'Future' Pledge :D

I was looking for a cheap alternative for gloss topcoat to do my panel wash on my IJ since Bosny's Clear Gloss is too thick for me, and remembered that I saw on sir DC23's blog that he uses this Future Pledge to do the job, also, I asked sir T.V.A. *The Virgin Angel* with regards to using Pledge/Future for topcoating before panel wash..and I bought one right away XD..anyway, here are the photos of what I did on some scraps XD.. What I did was painted the part chrome and then, applied Future/Pledge on it.. Verdict: Seriously, it's so EASY to use. You don't have to do something like mix it with other stuffs before applying on the kit. You don't have to even worry about brush marks/strokes since it's self leveling. And it's shiny! XD So, if you guys are looking for a cheap alternative for your gloss coat, I highly recommend this one XD.. Till then! :D

What's Inside The Box: SD Kshatriya

HG Shaldoll Ver. Odium WIP #01

Did something to my HG Shaldoll :D (This is btw, our Brando Bell Group Build) First of, this is what I plan on doing on it's backpack. Next, I did some cutting on the backpack in order for me to attach the thing that will hold the TA's boosters. Then I trimmed down the part that will hold the Tactical Arm's boosters, so it can fit in. I then attached the boosters on the backpack of the Shaldoll. Next is, I worked on the head. The eye lens for me is too big, so I decided to make it a bit smaller somehow :). Using a .5mm HIPS (High Impact Plastic Sheets) I did this. Sanded the putty I applied, and primed it to see if there are still something to work on. Still needs a lot of work on the head though haha :)). Removed the design on the body, and replaced it with a koto part. And oh! Look! It can transform now! haha! I also added wings on the shoulder armor, still working on it. Till next update~