Hello! My long gunpla break is over. And yes, finally done working with this guy! This kit also marks my return in Gunpla after going on a hiatus for almost a year and a half (moved to playing airsoft).
Photo(s) we're taken by "Modus" (of ModPink Design Studios), a very close friend of mine (He's like my brother from another mother hehe).
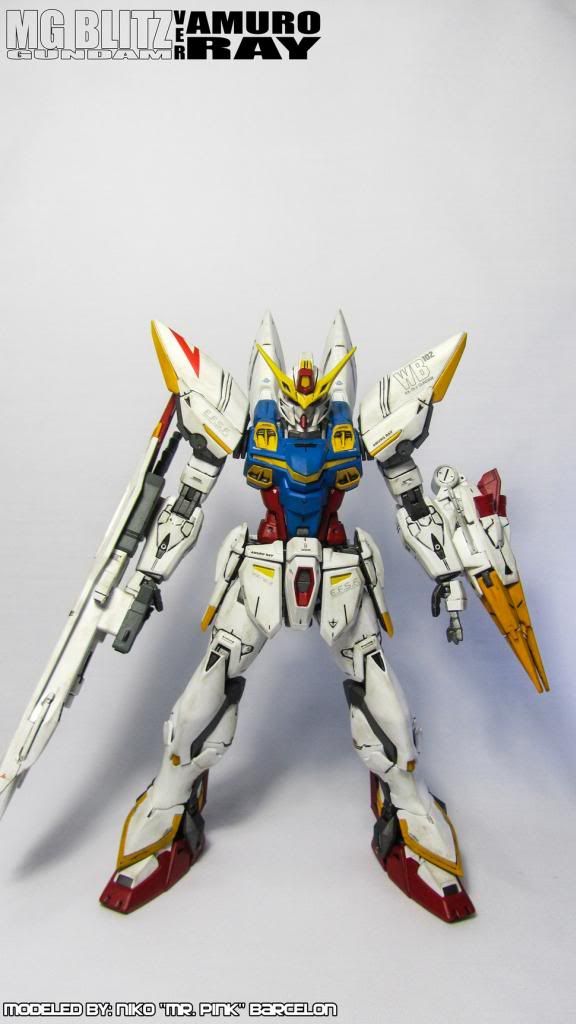
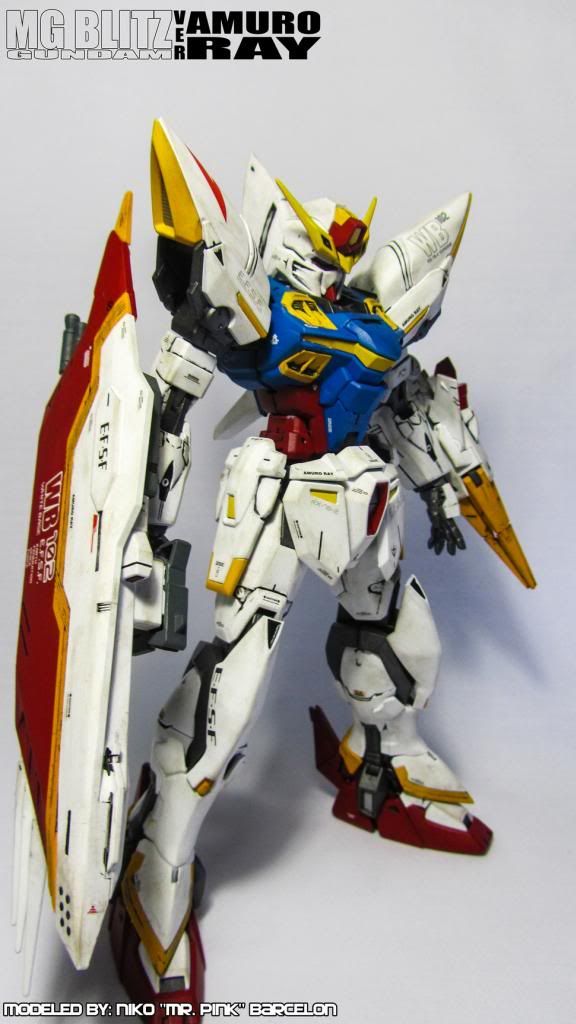
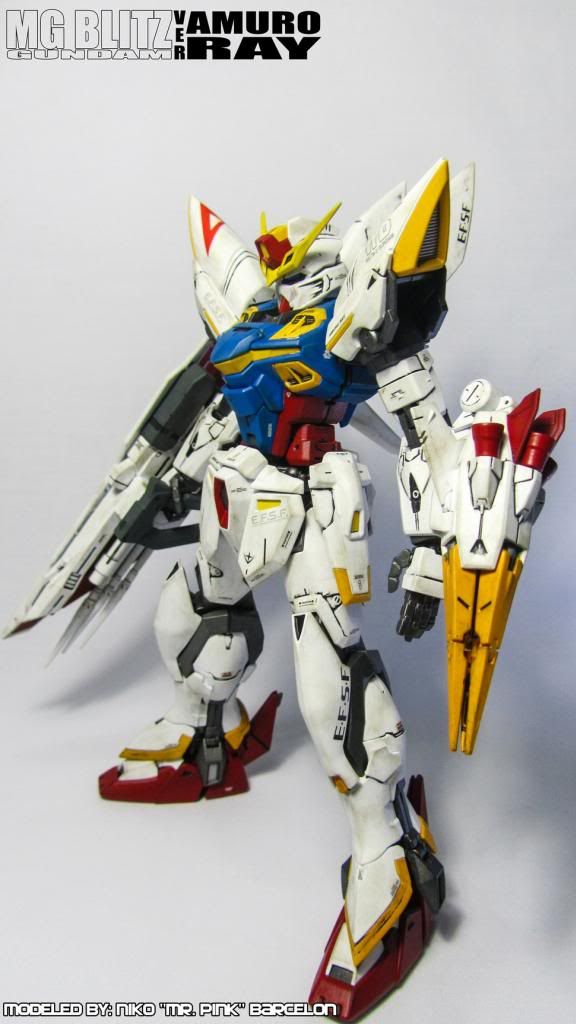
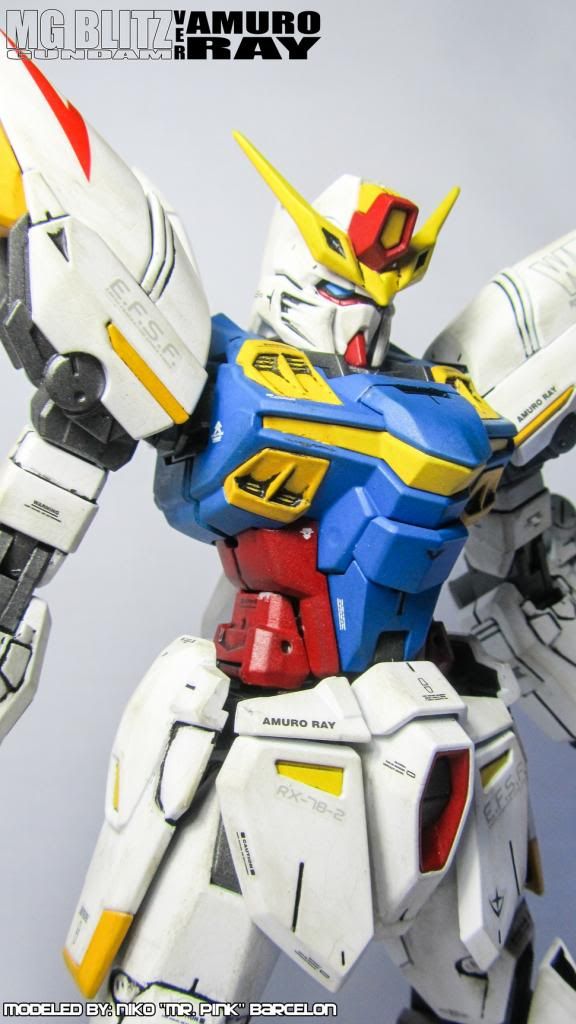
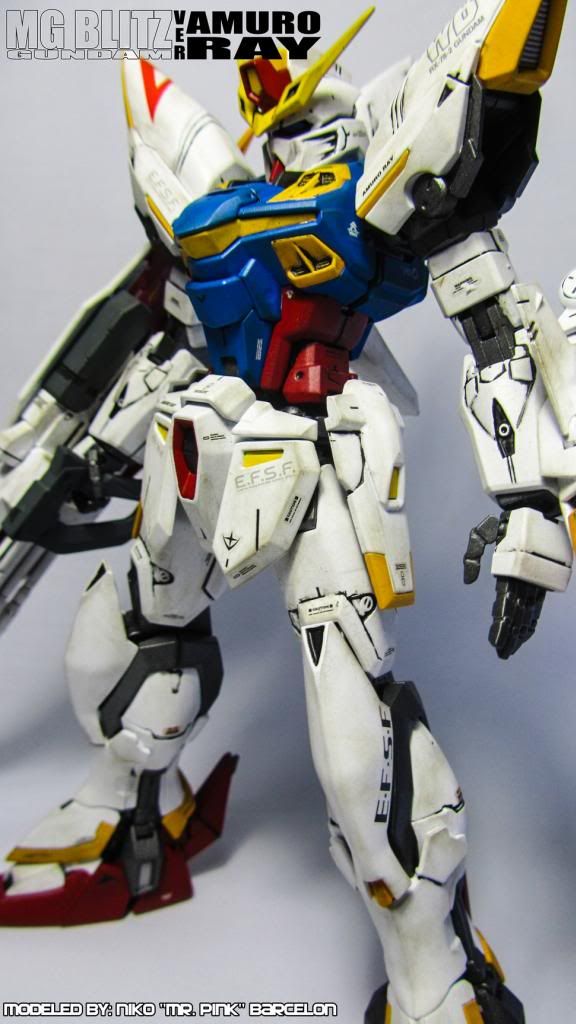
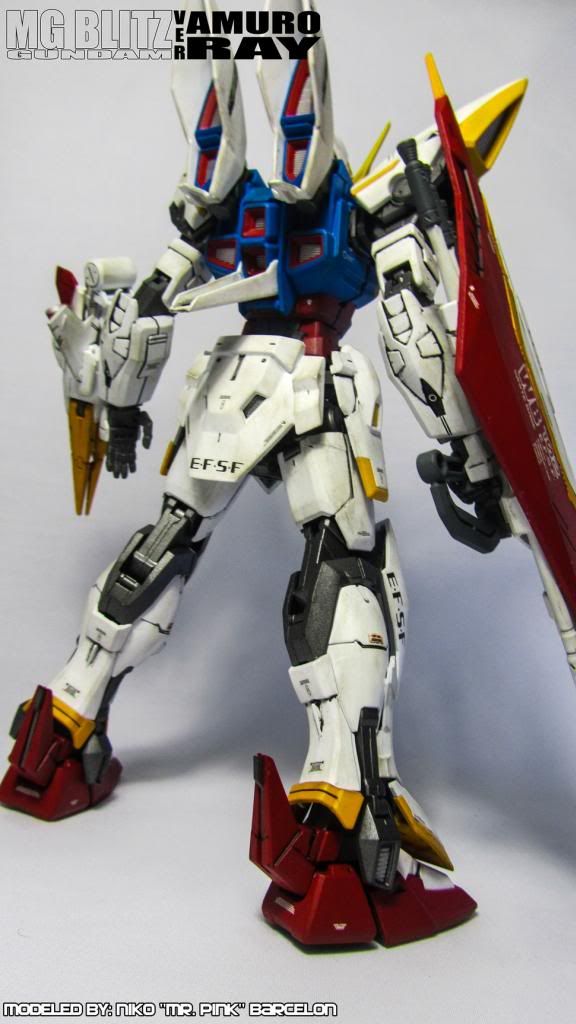
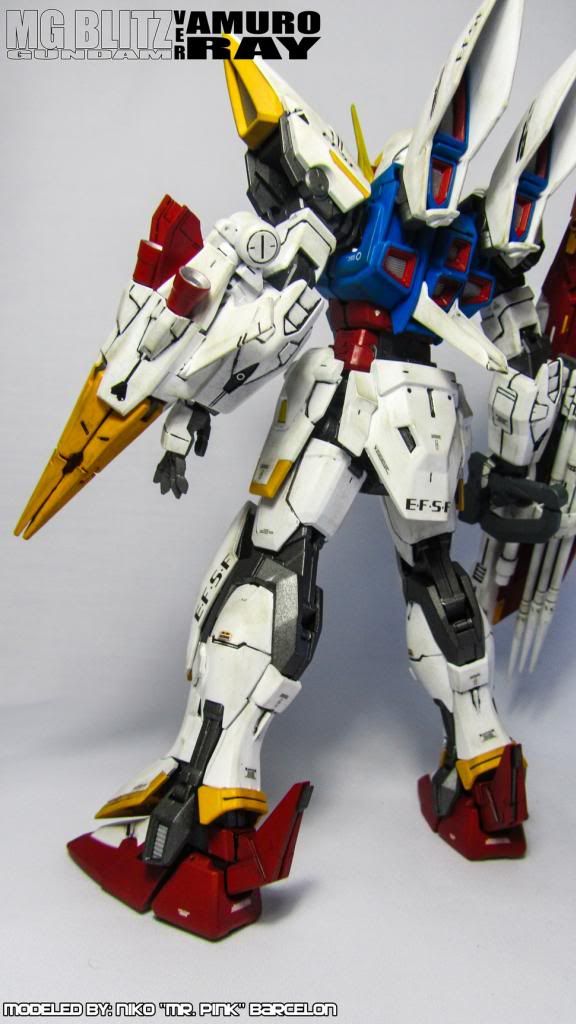
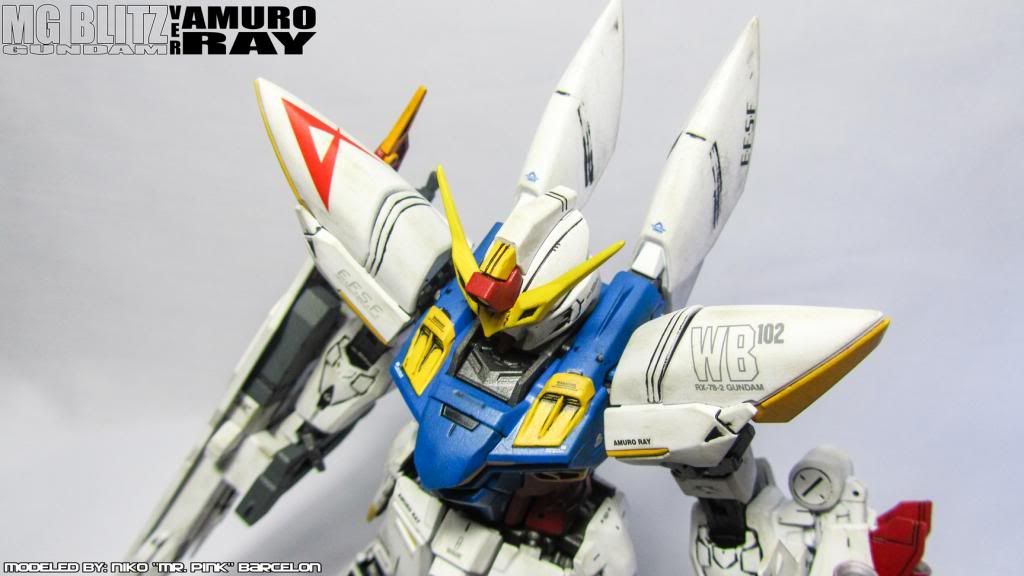
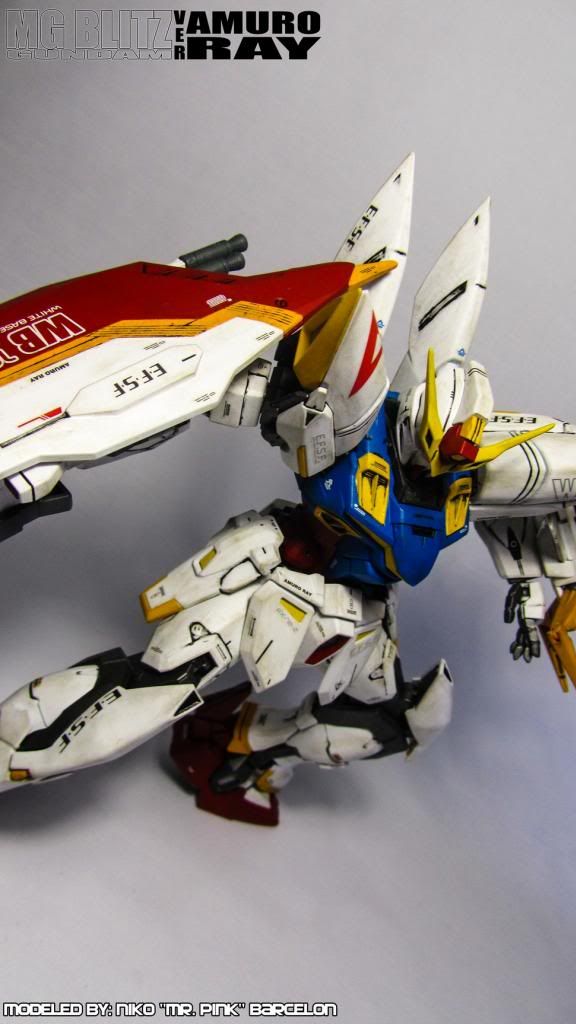
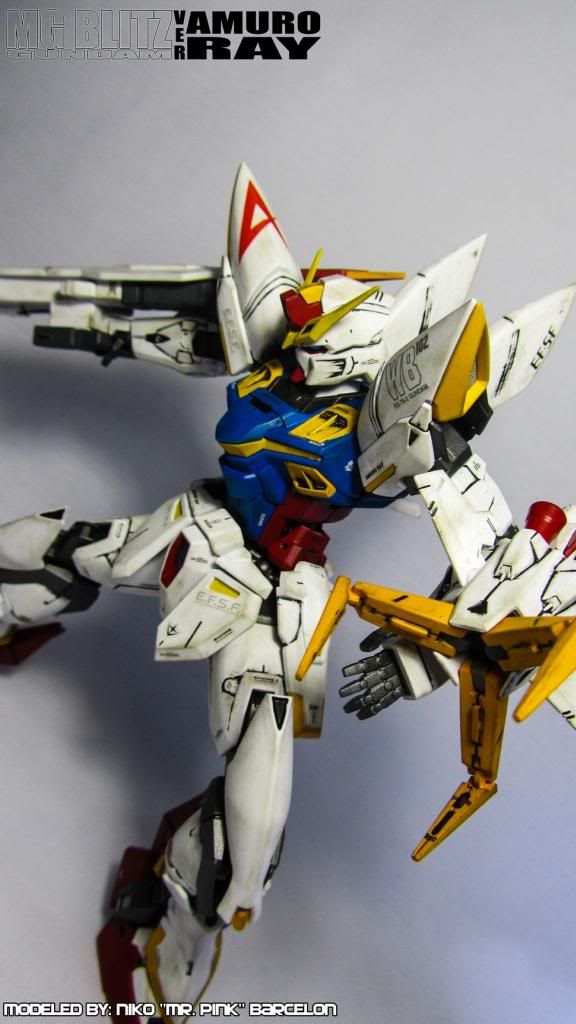
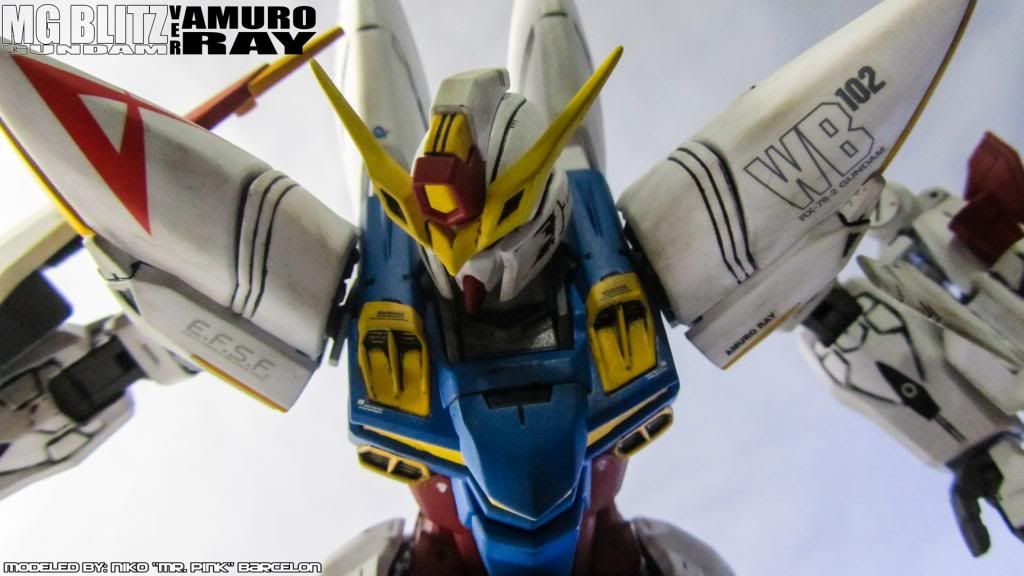
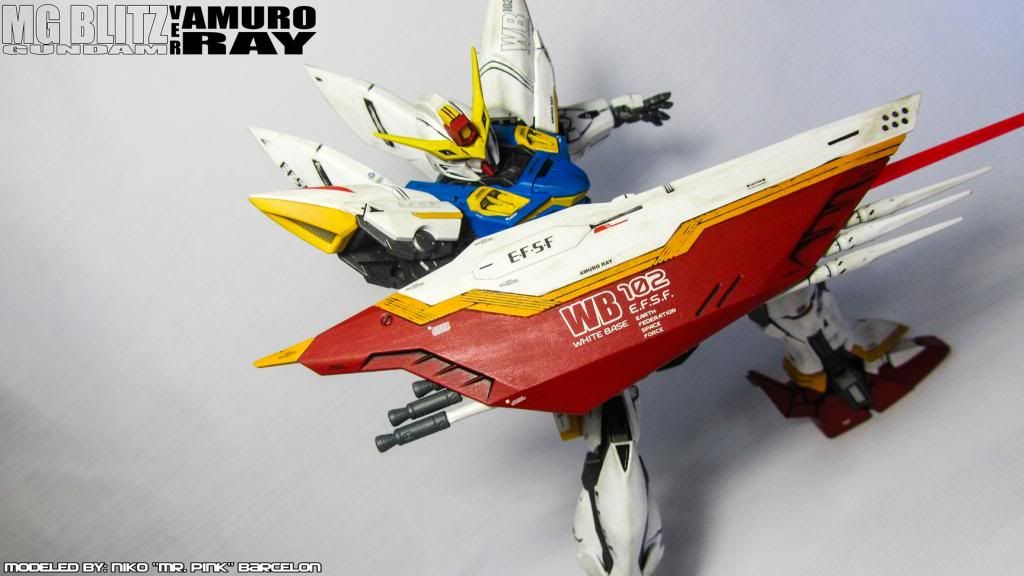
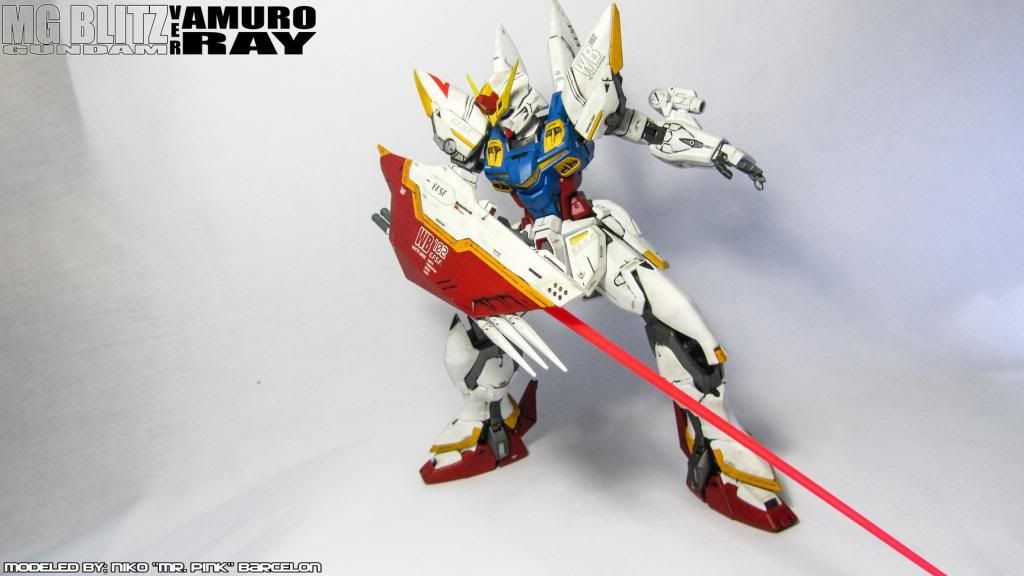
Everything we're hand-painted using Tamiya Acrylics. And I swear, this will also be the last time I'll handpaint using Tamiya paints. I will be switching over to either Citadel and/or Vallejo paints. Tamiya paints gave me a headache. Seriously, I have to strip and paint most of the parts OVER AND OVER AGAIN just to make it right.
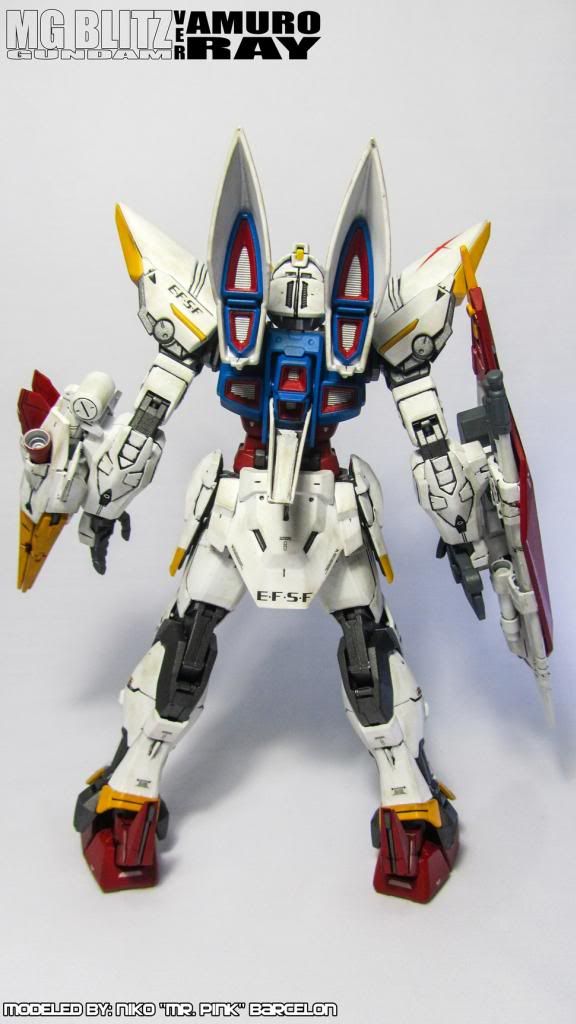
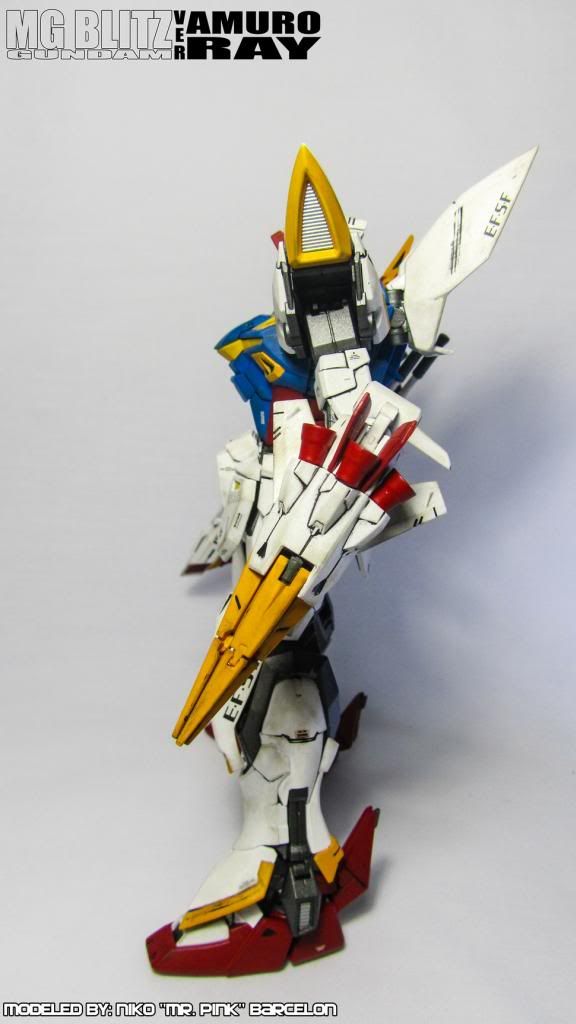
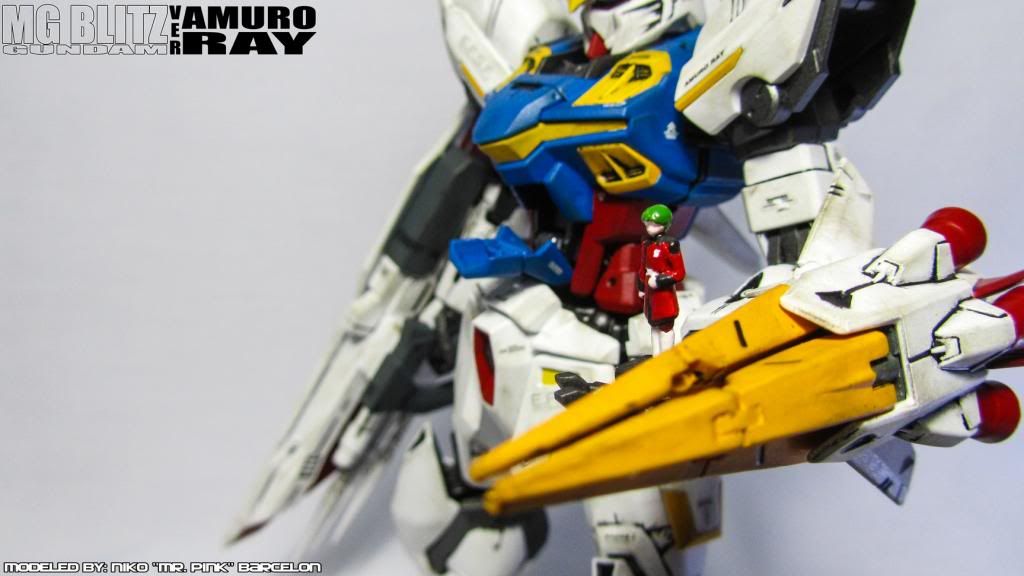
Weathered the kit because I plan on making or putting it on a diorama. Not sure when, but you bet I'll work on it after my next build.
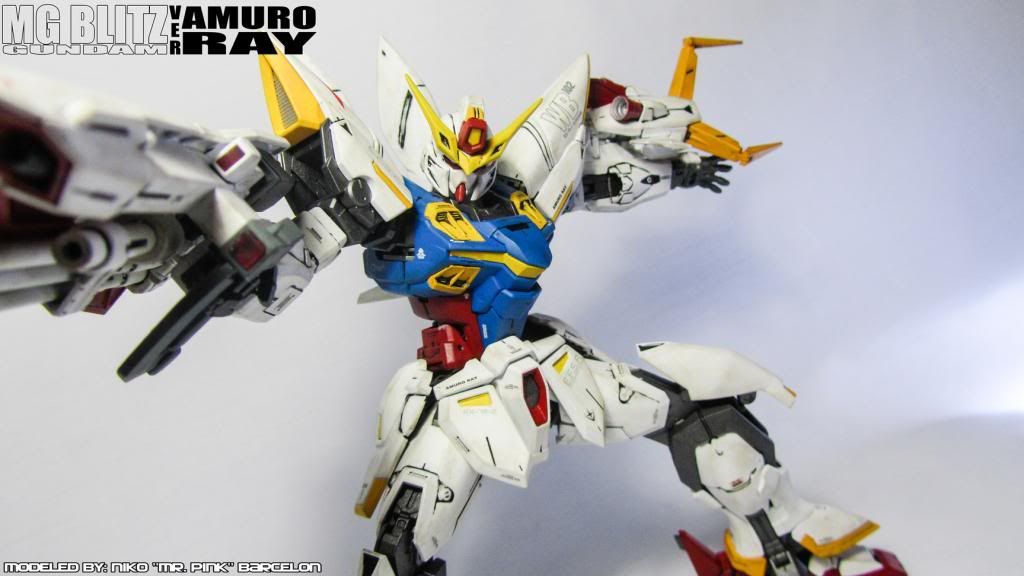
Anyway, I now present to you... My MG Blitz Ver. Amuro!


Thanks for viewing~ Still need to work on my hand-painting skills hehe.
Till my next build or update <3
Photo(s) we're taken by "Modus" (of ModPink Design Studios), a very close friend of mine (He's like my brother from another mother hehe).
Everything we're hand-painted using Tamiya Acrylics. And I swear, this will also be the last time I'll handpaint using Tamiya paints. I will be switching over to either Citadel and/or Vallejo paints. Tamiya paints gave me a headache. Seriously, I have to strip and paint most of the parts OVER AND OVER AGAIN just to make it right.
Weathered the kit because I plan on making or putting it on a diorama. Not sure when, but you bet I'll work on it after my next build.
Anyway, I now present to you... My MG Blitz Ver. Amuro!


Thanks for viewing~ Still need to work on my hand-painting skills hehe.
Till my next build or update <3
Simply awesome!
ReplyDeleteThanks bro!
DeleteThanks for sharing this one. It truly gave me inspiration to work on customizing my kit since I own a Blitz MG kit as well. I didn't realize how amazing it would look like customizing the paint.truly a very nice piece of work!
ReplyDeleteNo prob bro. I'm glad that this build of mine inspired you (and others too). Goodluck on your Blitz bro! *internet brofist*. :D
DeleteAdmin, if not okay please remove!
ReplyDeleteOur facebook group “selfless” is spending this month spreading awareness on prostate cancer & research with a custom t-shirt design. Purchase proceeds will go to cancer.org, as listed on the shirt and shirt design.
www.teespring.com/prostate-cancer-research
Thanks